Yonex racquets are renowned for their performance, but unlocking their full potential hinges on precise stringing. A poorly strung Yonex frame can significantly impact playability, leading to inconsistencies and lost power. Achieving that perfect, professional-grade string job, however, requires more than just pulling the strings tight; it demands a meticulous understanding of specific techniques tailored to Yonex's unique frame designs and materials. This is crucial for maximizing the racquet's responsiveness and sweet spot, resulting in a superior playing experience.
This guide delves into the intricacies of Yonex stringing, providing a comprehensive step-by-step process that will help you achieve pro-level accuracy. From selecting the correct string pattern and tension to mastering crucial knotting and clamping techniques, we’ll equip you with the knowledge and skills necessary to string your Yonex racquet like a seasoned professional. Prepare to elevate your game with this detailed exploration of the Yonex stringing technique.
Preparation and Safety Guidelines
- Tennis Racket
- Stringing Machine (6-point)
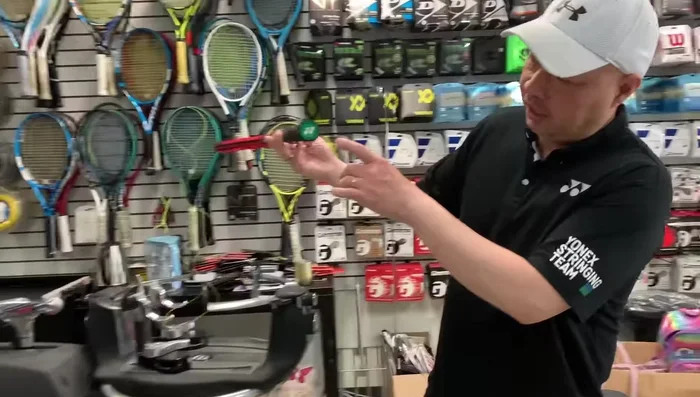
- String
- Clamps
- Always use appropriate safety glasses to protect your eyes from snapping strings or flying debris.
- Ensure the racquet is clamped securely in the stringing machine before beginning. Improper clamping can lead to racquet damage or injury.
- Never attempt stringing if you are unfamiliar with the process. Improper stringing techniques can severely damage the racquet and potentially cause injury.
Step-by-Step Instructions
Racket Setup
- Align the racket to the machine. The butt cap symbol (e.g., YY for Yonex) must face upwards.
- Secure the racket using fingertip pressure on the clamps. Ensure 12 o'clock and 6 o'clock positions are aligned.

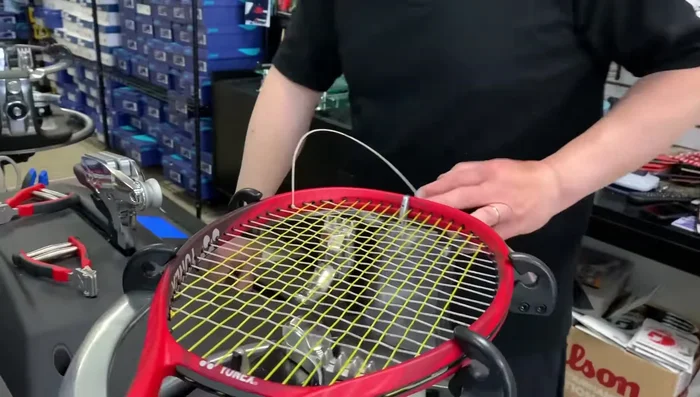
Racket Setup Main Stringing
- Start stringing the mains. Pull from the opposite side and clamp as close as possible. The string should always go *under* the racket, never over.
- String three mains, then four on the opposite side, repeating until all mains are complete. Release the bottom clamp before the top clamp.
- Use the 'knot' feature on the machine for the last mains, increasing tension by 10%. Tie an ending knot securely.
Main Stringing Cross Stringing
- For cross strings, weave through the second cross, then double back into the first cross. Pull the second cross first while it's held by the starting clamp.
- String one ahead for less friction and easier stringing. Straighten each string as you pull to avoid a rainbow effect.
- For the last two crosses, use the knot feature again for increased tension. Tie the ending knots.
Cross Stringing Final Steps
- Release clamps and cut excess string, leaving 1/8 inch tucked in.
Final Steps


Read more: Master Tennis Racket Stringing: The Fastest & Easiest Cross Stringing Technique
Tips
- Always maintain consistent racket alignment and clamping pressure.
- Stringing one ahead significantly reduces friction.
- Straighten each string to prevent a rainbow effect after stringing.
- The knot feature adds 10% tension to the last mains and crosses for extra security.
- Consistent technique leads to accurate and pro-level results. Maintain the same alignment and procedure each time.