For serious racket sports players, downtime is the enemy. Waiting for restringing can interrupt training schedules and hinder performance. The time spent waiting often outweighs the benefits of a perfectly tensioned racket, leaving players frustrated and searching for solutions. This is where mastering efficient stringing techniques becomes crucial, significantly reducing the time spent on this essential maintenance task. Faster stringing doesn't necessarily mean sacrificing quality; innovative methods can streamline the process without compromising the integrity of the string job.
This article focuses on one such technique: the 3-Cross Weave. This method offers a demonstrably quicker way to complete the crucial crossing phase of racket stringing, enabling you to get back on the court faster. We’ll guide you through a step-by-step process, illustrating how this simple yet effective modification to your stringing routine can drastically cut down your overall stringing time. Let's dive into the detailed instructions and unlock the speed advantage of the 3-Cross Weave.
Preparation and Safety Guidelines
- Always use sharp, appropriately sized stringing tools. Dull tools increase the risk of injury and can damage the racket frame.
- Maintain consistent tension throughout the stringing process. Inconsistent tension weakens the strings and the racket frame, potentially leading to breakage during play.
- Wear safety glasses to protect your eyes from flying strings or broken clamps.
Step-by-Step Instructions
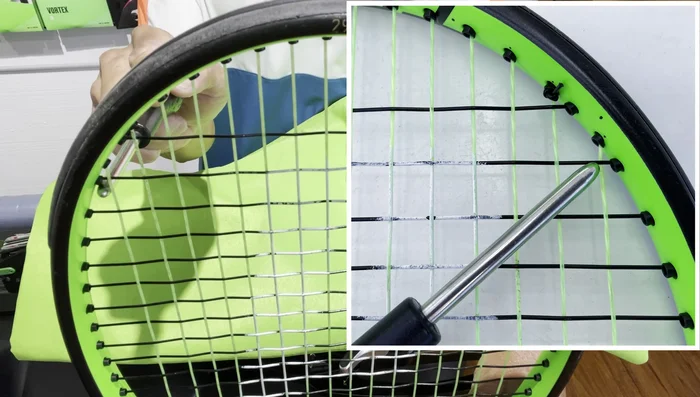
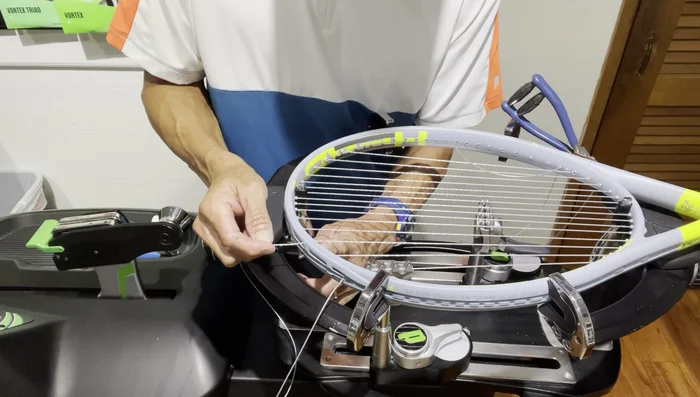
Identify Intersecting String
- Identify the outer main string and the intersecting cross string. Determine which cross string intersects the outer main (e.g., second or third cross).

Identify Intersecting String Prepare String
- Measure approximately four feet of string. Create a loop.
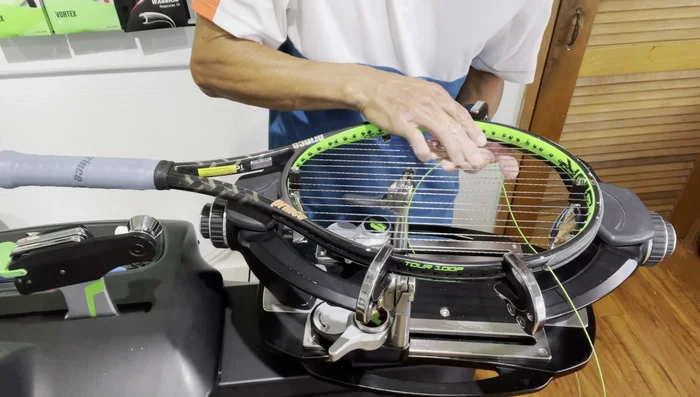
Prepare String Weave First Three Crosses (Two-Piece)
- Starting from the intersecting cross string (e.g., third cross), weave the first three crosses.
Weave First Three Crosses (Two-Piece) Tension First Three Crosses (Two-Piece)
- Tension the first three crosses using an offset tube (optional).
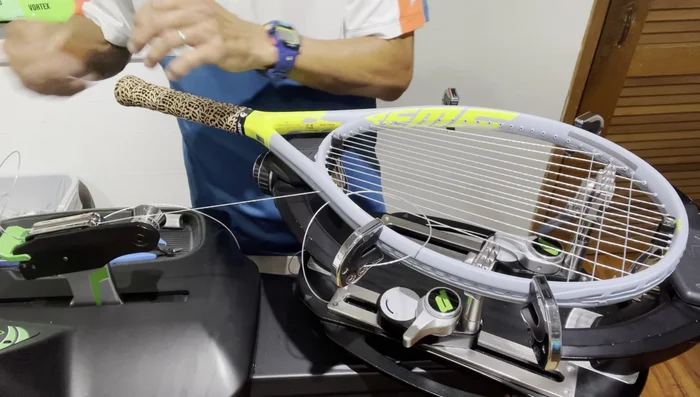
Tension First Three Crosses (Two-Piece) Prepare for One-Piece Stringing
- For a one-piece string job, measure the short side, accounting for mains and three top crosses. Install mains.
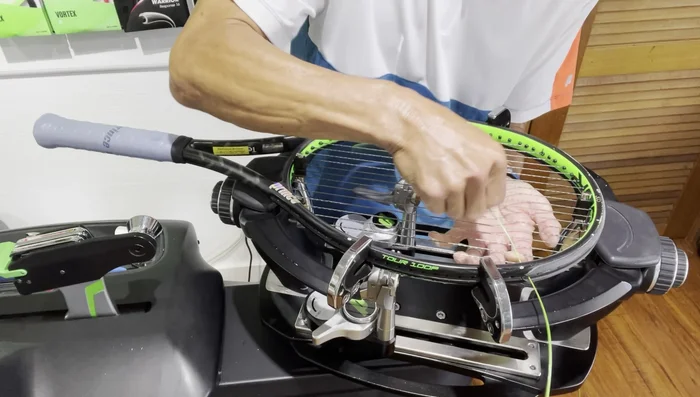
Prepare for One-Piece Stringing Weave and Tension Top Three Crosses (One-Piece)
- On the short side, install the top three crosses. Weave the strings, ensuring a downward angle to reduce friction.
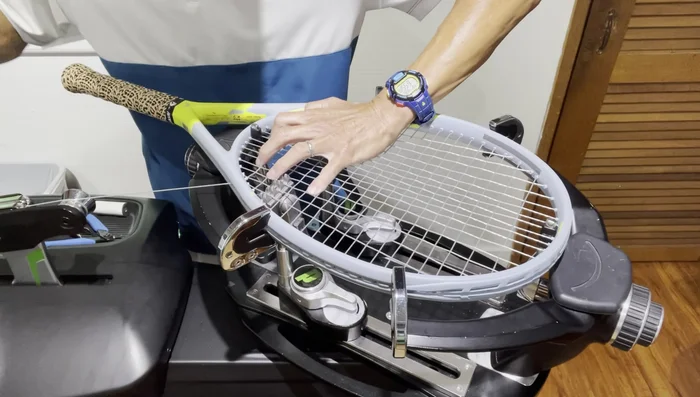
Weave and Tension Top Three Crosses (One-Piece) Weave Remaining Crosses (One-Piece)
- Free up the string clamp on the long side. Weave and tension the remaining crosses.
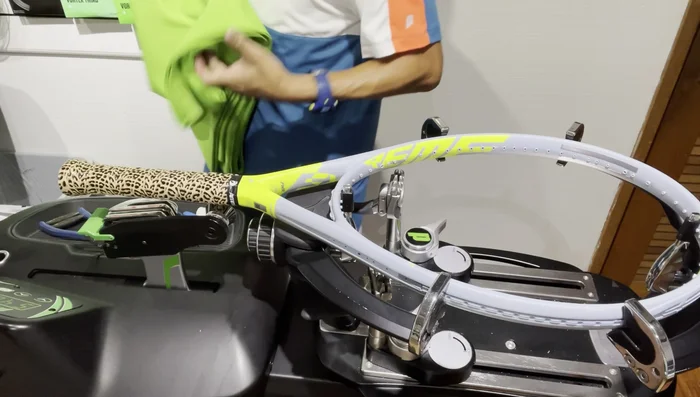
Weave Remaining Crosses (One-Piece) Final Tensioning
- Tension the last cross.
Final Tensioning

Read more: Master Tennis Racket Stringing: The Fastest & Easiest Cross Stringing Technique
Tips
- Maintain equal tension on your outer mains when stringing one piece by using a cross string as your tie-off point.
- Install crosses faster by starting from the second or third cross and using only four feet of string at a time.
- Reduce friction by installing crosses with only a short length of string (reducing the amount passing through the high-friction areas at the 10 and 2 o’clock positions).