Tennis players know that the right string job can significantly impact their game. A perfectly strung racket translates to more control, power, and comfort on the court, enhancing performance and minimizing the risk of injury. But mastering the art of stringing isn't easy; it demands precision, patience, and a solid understanding of different knotting techniques. Among these, the Parnell knot stands out for its efficiency and reliability, offering a secure and consistent string bed. Many consider it the gold standard for experienced stringers.
This article focuses on mastering the Parnell knot, a technique renowned for its speed and strength. We'll guide you through a detailed, step-by-step process, equipping you with the knowledge and skills to confidently and efficiently string your own tennis racquets using this superior knotting method. Get ready to elevate your stringing game and experience the difference a perfectly tied Parnell knot can make.
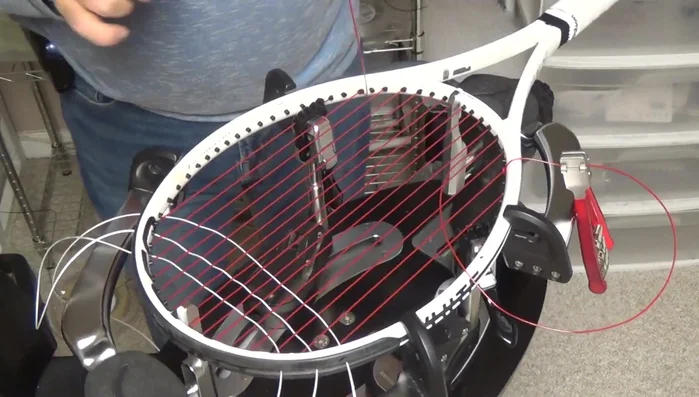
Preparation and Safety Guidelines
- Tennis Racket
- Stringing Machine
- Polyester String
- Starting Clamp
- Always use sharp stringing tools and work in a well-lit area to avoid accidental cuts or mistakes. Improper tools can lead to injury or damage to the racket.
- Maintain consistent tension throughout the stringing process. Inconsistent tension weakens the strings and can lead to racket damage or injury.
- If you are unsure about any step, consult a professional stringer. Incorrect stringing can severely damage your racket and potentially lead to injury.
Step-by-Step Instructions
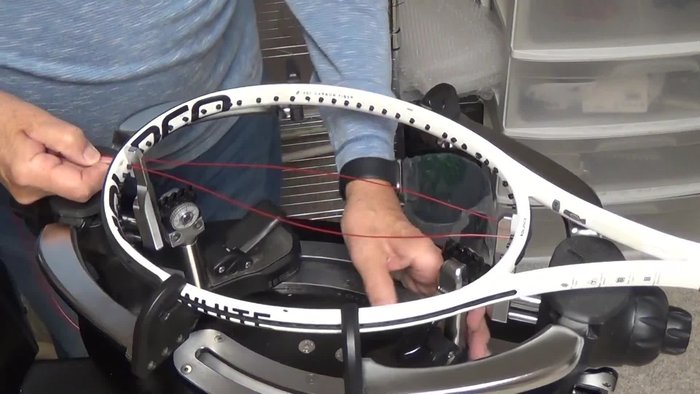
Planning and Preparation
- Plan your tie-off points for mains and crosses before starting.
- Use starting clamps to aid in tying knots.

Planning and Preparation Tying Off Mains
- Tie off mains on the seventh main.
Tying Off Mains Pre-weaving Crosses
- Pre-weave crosses after securing the center mains and clamps.
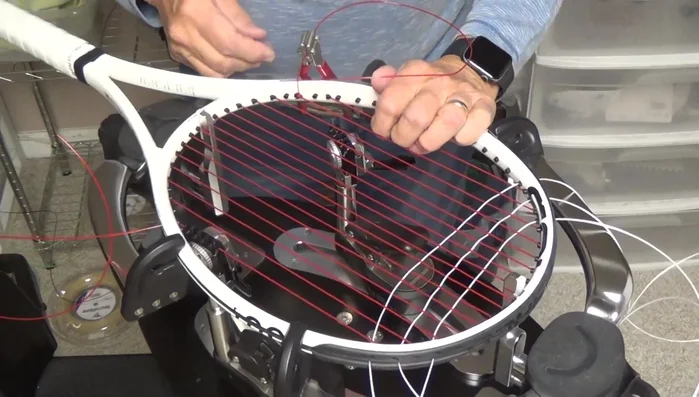
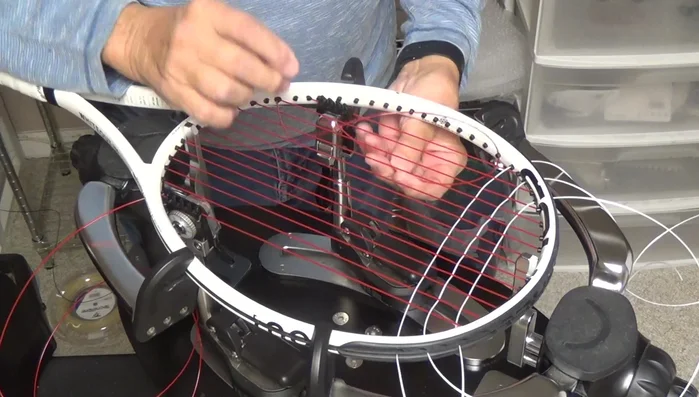
Tying Off Top Cross
- Tie off the top cross on the second cross.
- For the Parnell knot, go over, under, and through to create a small loop.
- Pass the tail end through the small loop to secure the knot.
- Remove the bulge on the outside of the string channel by pulling tension on the string.
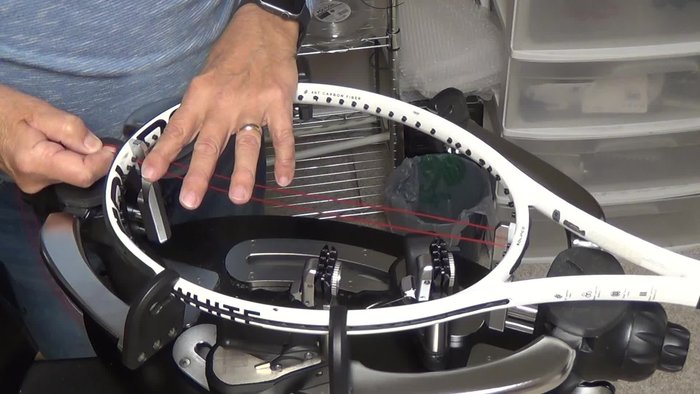
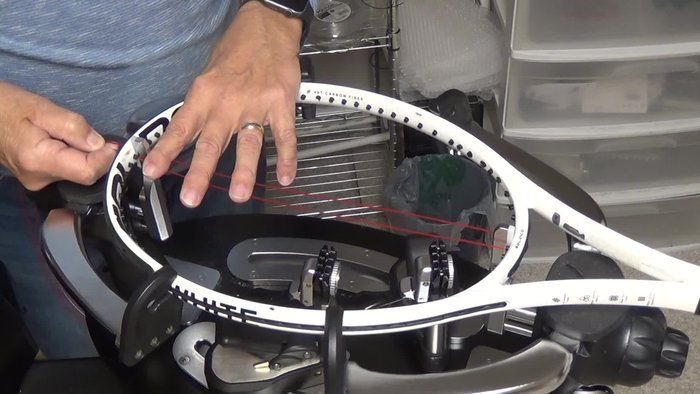
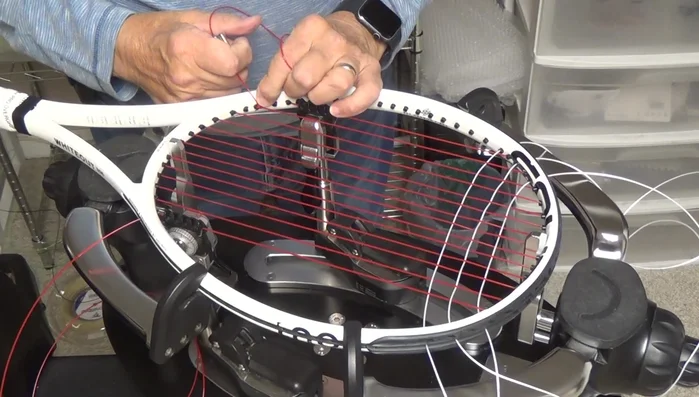
Tying Off Top Cross - Tighten the knot by pulling the tag end and releasing the clamps.
- Trim the tag ends after tying off.
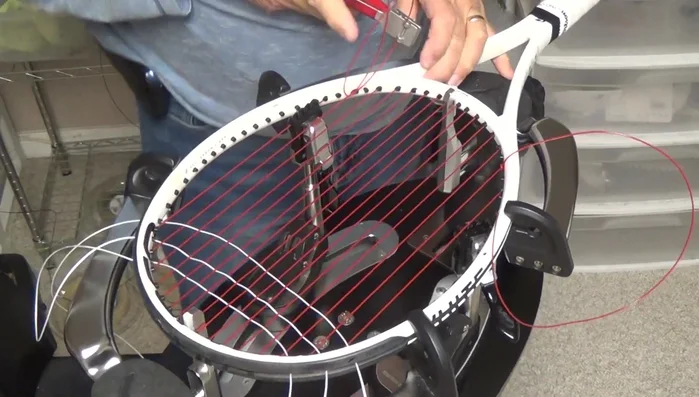
Tying Off Top Cross Tying Off Bottom Cross
- Tie off the bottom cross on the 18th cross.
- For the Parnell knot, go over, under, and through to create a small loop.
- Pass the tail end through the small loop to secure the knot.
- Remove the bulge on the outside of the string channel by pulling tension on the string.
Tying Off Bottom Cross - Tighten the knot by pulling the tag end and releasing the clamps.
- Trim the tag ends after tying off.
- Repeat steps 6-10 for the other side.
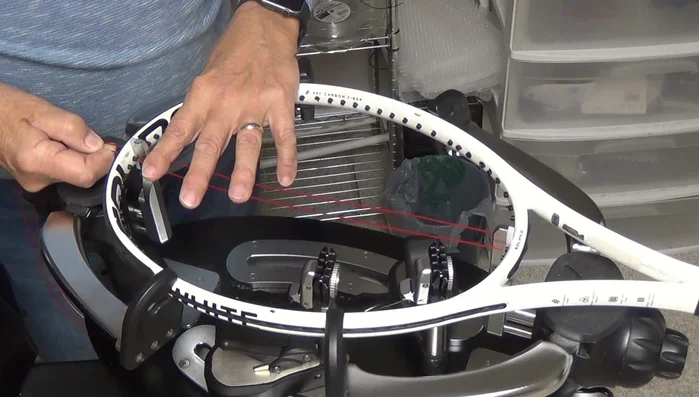
Tying Off Bottom Cross Finishing Touches
- Use a starting clamp to push tag ends flush against the frame without damaging grommets.

Read more: Master Tennis Racket Stringing: The Fastest & Easiest Cross Stringing Technique
Tips
- Plan tie-off points beforehand for efficient stringing.
- Tie mains to mains and crosses to crosses to avoid enlarging grommet holes and potential weakening.
- Ensure the anchor string is on top of the intersecting string for easier knotting.
- Avoid over-tightening knots to prevent string weakening and potential breakage.
- Always pass the string end through the initial small loop for secure knotting.