Stringing a tennis racket is a crucial aspect of maintaining optimal performance and comfort on the court. While it might seem daunting for the novice, mastering the technique unlocks significant benefits, including the ability to customize your racket's feel and playability to your exact preferences. Beyond the technical advantages, the satisfaction of stringing your own racket is undeniable, offering a deeper connection to your equipment and a newfound appreciation for the intricacies of the game. This often-overlooked skill can save money in the long run and empower you to quickly address string breaks during crucial moments.
This article focuses on a particularly efficient and user-friendly approach: the fastest and easiest cross stringing technique. We'll break down the process step-by-step, guiding you through each crucial stage from clamping the frame to the final knot. Get ready to discover a streamlined method that will significantly reduce your stringing time while ensuring a professional-quality result, leaving you more time on the court and less time in the workshop.
Preparation and Safety Guidelines
- Tennis Racket
- Stringing Machine
- Always wear safety glasses to protect your eyes from flying string or broken clamps.
- Use the correct tension for your racket and string type; incorrect tension can damage the frame or compromise playability.
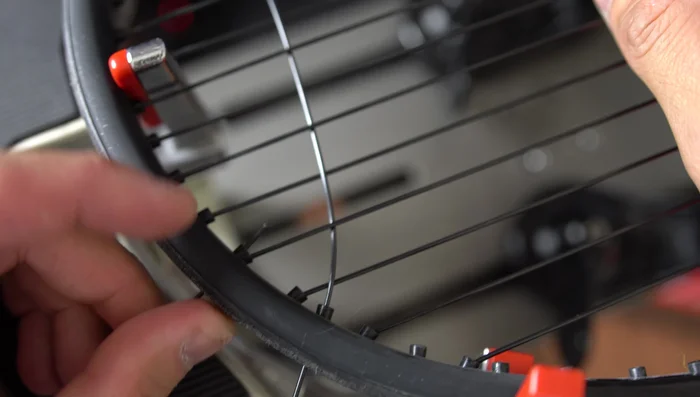
- Ensure the racket is securely clamped before starting; a loose racket can cause injury or damage during stringing.
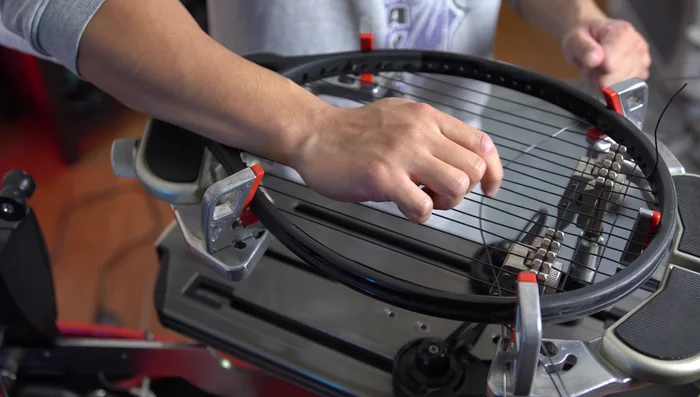
Step-by-Step Instructions
Starting Knot
- This knot is crucial for efficient cross stringing, securing the string at the top of the racket.

Starting Knot Cross Stringing Technique
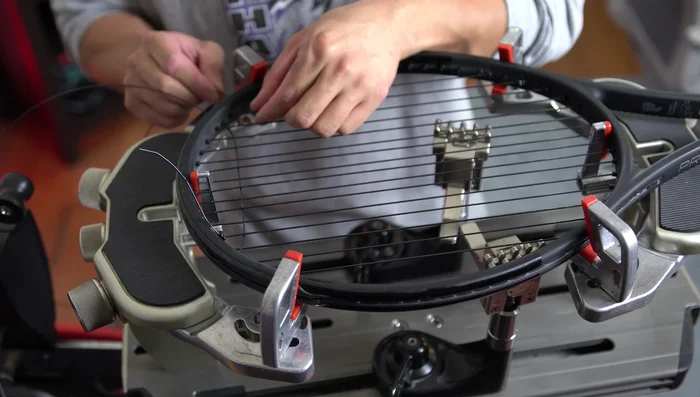
- Instead of immediately tightening each cross, pull and weave one cross ahead before tightening. This significantly speeds up the process and is a hallmark of experienced stringers.
- As you weave, ensure the string moves slightly to prevent notching, especially with rougher polyester strings. This prevents damage to both mains and crosses.
- After weaving a cross, clamp it towards the edge and pull tension.
- Continue weaving and tensioning crosses across the racket until complete.
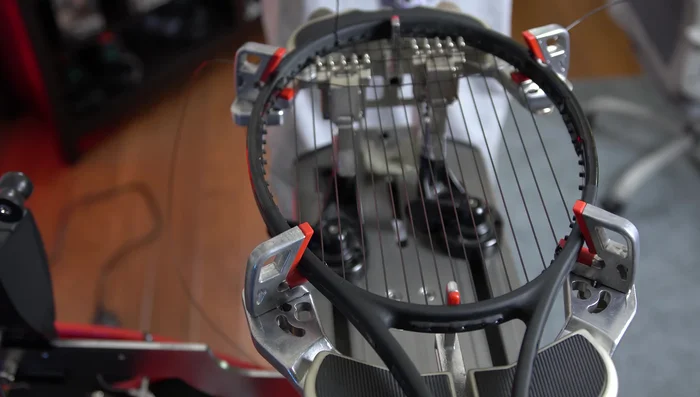
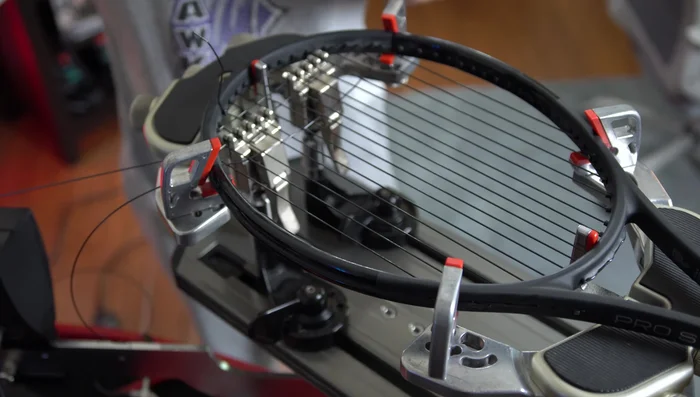
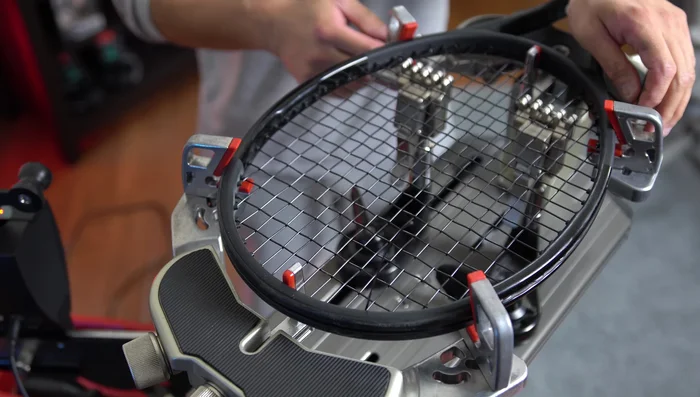
Cross Stringing Technique Finishing Knot
- Use a standard double knot to secure the final cross, the same knot used for the mains.
Finishing Knot
Tips
- Take your time to prevent notching.
- Start at the head of the racket for easier stringing.
- Practice the Parnell knot; it gets easier with practice.
- Redouble knots that don't quite work.