The Wilson Pro Staff 97 CV is a renowned tennis racquet prized for its control and feel, but achieving optimal performance hinges on proper stringing. Many players, particularly beginners, find the process intimidating, leading them to rely on professional stringers. However, learning to string your own racquet can save money, provide a deeper understanding of your equipment, and even allow for personalized string tension and material choices. This isn't as daunting as it might seem; with the right guidance, anyone can master the basics.
This beginner-friendly tutorial will walk you through each step of the stringing process for your Wilson Pro Staff 97 CV, from preparing the racquet to completing the final knot. Whether you're a complete novice or simply looking to refine your technique, we'll cover everything you need to know to confidently string your racquet at home, ensuring you're ready to hit the court with optimal performance. Let's get started!
Preparation and Safety Guidelines
- Stringing Machine
- Wilson Pro Staff 97 CV Racquet
- Salenco Confidential 16 Light String
- Stringing clamps
- Diablo (optional)
- Extender/Starting Clamp
- Pliers (optional)
- Always use appropriate safety glasses to protect your eyes from snapping strings or flying debris.
- Ensure the racquet is properly clamped in the stringing machine before starting. Improper clamping can lead to damage to the racquet or injury.
- If you are unsure about any step of the stringing process, consult a professional stringer or refer to detailed video tutorials. Incorrect stringing can damage your racquet and affect its playability.
Step-by-Step Instructions
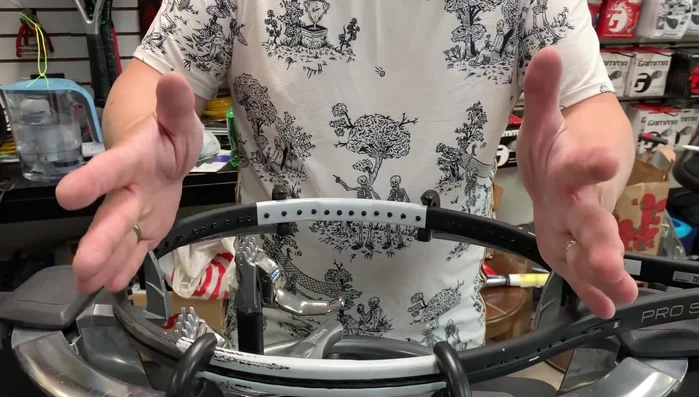
Racquet Setup
- Place the racquet in the stringing machine, ensuring the 'W' logo faces upwards.
- Tighten the 12 o'clock and 6 o'clock clamps securely, preventing racquet movement.

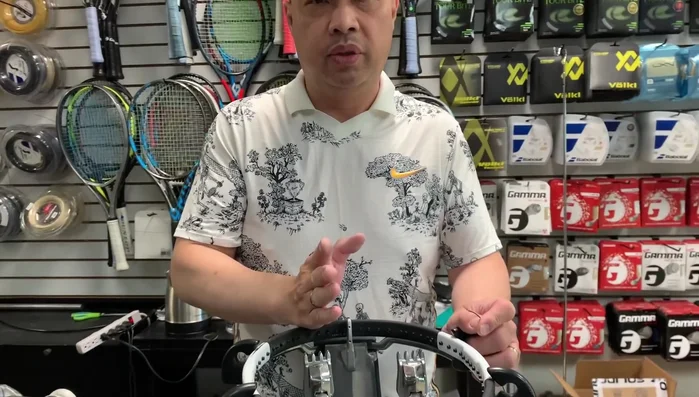
Racquet Setup Tension and Main String Preparation
- Set the desired string tension (52 lbs in this example).
- Measure and cut the main strings. The method shown involves measuring from the outer edge of the frame to the outer edge, repeating for the required number of mains on each side.
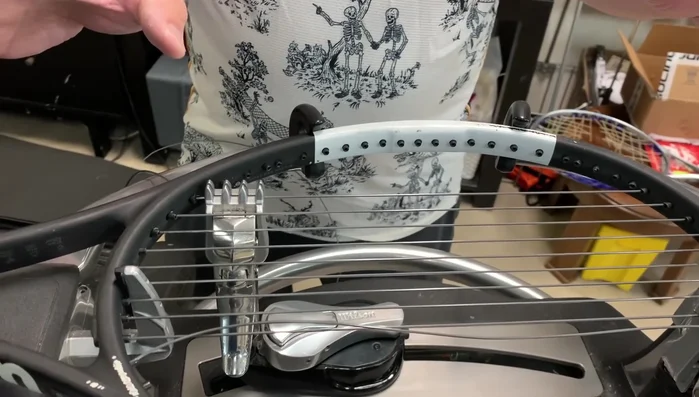
Tension and Main String Preparation Main String Installation (Start)
- Start with the main strings at the throat, using the middle two holes first, following the string pattern.
- Clamp the string securely near the frame.
- Pull the main strings using the Diablo (optional) or directly to the head, ensuring no slipping.
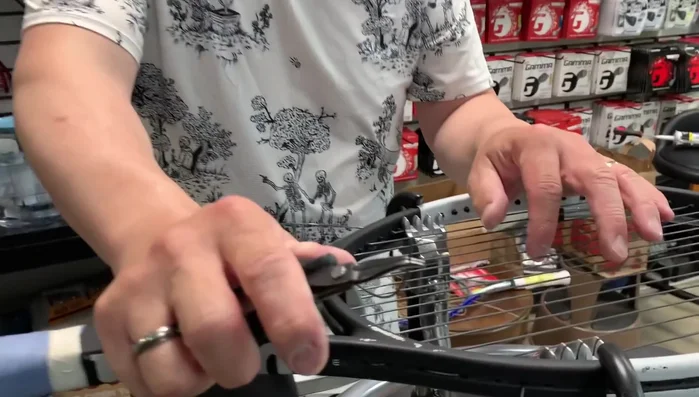
Main String Installation (Start) Main String Installation (Completion)
- Continue stringing the mains, remembering to account for skipped holes in the string pattern.
- Use an extender or starting clamp to tie off the mains and extend the string to the head of the racquet.
- Jack up the tension by 3-5 pounds to compensate for tension loss during knotting.
- Tie off the mains using a two half-hitch knot.
Main String Installation (Completion) Cross Stringing (Not Covered)
- Cross stringing is not covered in this specific segment of the transcript.)


Read more: Master Tennis Racket Stringing: The Fastest & Easiest Cross Stringing Technique
Tips
- Always check the tension between rackets.
- Don't skip setting the tension before starting.
- Use a consistent method for measuring and cutting strings.
- If using a Diablo, use it consistently for even tension.
- Pay attention to skipped holes in the string pattern. Refer to the racquet’s stringing chart or diagram.