Pickleball's popularity continues to surge, and with it, the need for quality equipment, including a reliable net. A properly set-up net is crucial for fair play and an enjoyable game, and while it might seem straightforward, there are nuances to ensure your Wilson pickleball net is positioned correctly and securely. Many players overlook the finer points of net installation, leading to uneven play and potential damage to the net itself. A poorly installed net can significantly impact the game's integrity.
This guide focuses specifically on setting up a Wilson pickleball net, offering a comprehensive, step-by-step process to ensure your net is perfectly aligned and ready for action. From preparing the court to securing the net's tension, we'll cover every detail, so let's get started and delve into the precise steps needed to ensure a flawlessly set-up Wilson pickleball net.
Preparation and Safety Guidelines
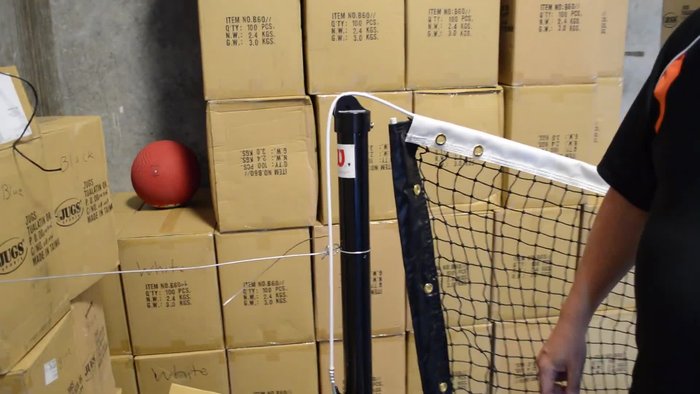
- Wilson House Post (Standard or Heavy Duty)
- Wilson Pickleball Net
- PVC Sleeves
- Shovel (for digging holes)
- Ensure the ground is level before setting up the net to prevent uneven tension and potential damage to the net or posts.
- Always use the provided anchoring system (ground stakes or weights) to secure the net. A poorly secured net poses a tripping hazard and can easily be damaged by wind.
- Two people should ideally work together to set up and take down the net for better stability and to avoid injury.
Step-by-Step Instructions
Position and Secure the Posts
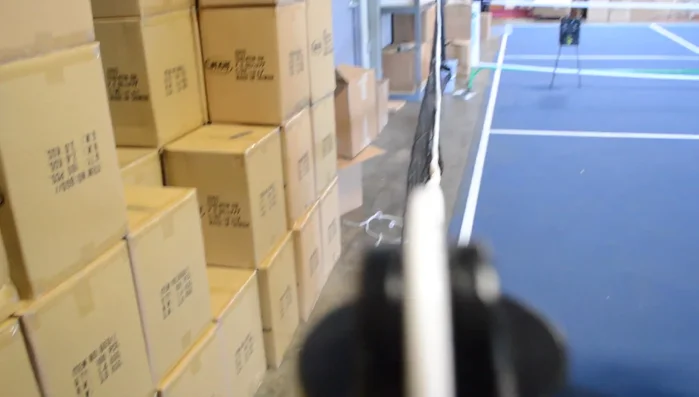
- Place the posts approximately 22 feet 4 inches apart, centered on your pickleball court.
- Insert the posts into PVC sleeves that are buried two feet into the ground. The pin on the post will help maintain the correct height (36 inches at the top).

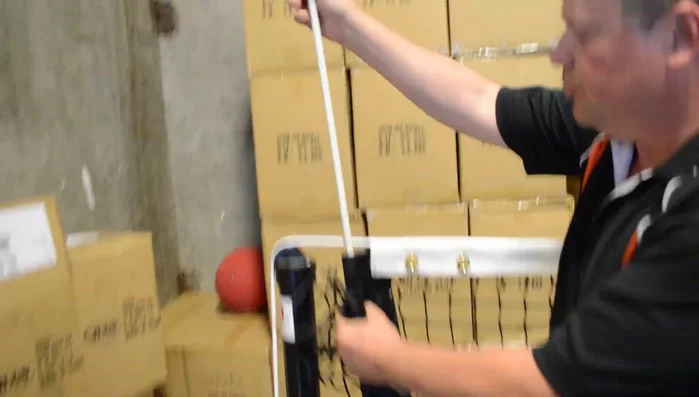
Position and Secure the Posts Attach the Net Cable
- Thread the cable through the net. Each end of the cable has a loop.
- Place one loop over the cleat on one post. Route the cable up and over the pulley at the top of the post.
- Run the cable to the other side of the net. The other loop goes around the pin on the crank.
Attach the Net Cable Adjust Net Height
- Tighten the cable using the crank until the net is 34 inches high at the center of the court (this should result in a 36-inch height at the posts).
Adjust Net Height Install End Rods
- Insert the rods into the end sleeves of the net.
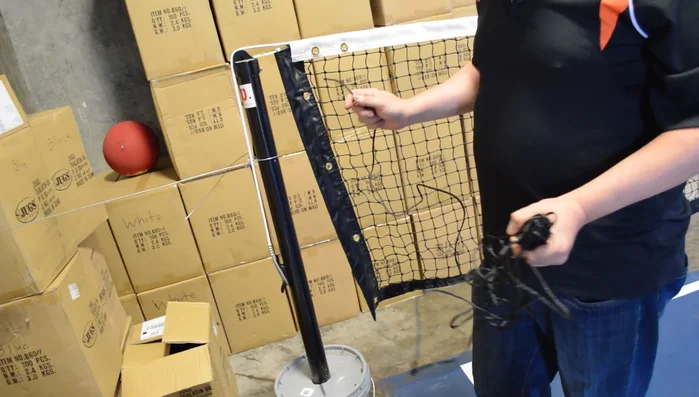
Install End Rods Lace the Net to the Posts
- Lace the net to the posts using the grommets at the top and sides. (Refer to the diagram on the website for detailed instructions.)
Lace the Net to the Posts


Read more: Core Drilling for Volleyball Court Pole Installation: A Step-by-Step Guide
Tips
- Ensure the center of the net is 34 inches high for proper height at the posts.
- Consult the website for a diagram illustrating the lacing technique.