Constructing a robust and safe volleyball court requires meticulous attention to detail, especially when it comes to installing the crucial support poles. These poles, essential for net tension and overall court integrity, demand a secure foundation. Achieving this stability often relies on the precise and efficient technique of core drilling. Improper installation can lead to instability, safety hazards, and potential damage to the court surface. This guide emphasizes the critical role of core drilling in ensuring a long-lasting and safe volleyball court setup.
This article provides a comprehensive, step-by-step guide to core drilling for volleyball court pole installation. We’ll walk you through each stage, from selecting the appropriate drill bit to ensuring proper depth and concrete curing, equipping you with the knowledge to perform this vital task effectively and safely. By following these detailed instructions, you can confidently install poles that will withstand the rigors of intense gameplay for years to come.
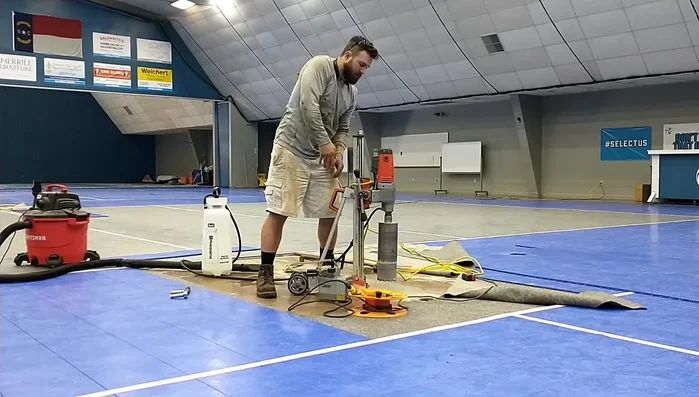
Preparation and Safety Guidelines
- Core drill
- Vacuum pump
- Tape measure
- Water
- Hammer
- Sleeve (for the hole)
- Concrete
- Always wear appropriate safety gear, including eye protection, hearing protection, and sturdy work boots. Core drilling generates dust and noise, and the equipment can be dangerous if mishandled.
- Accurately mark and verify the drilling location before starting. Incorrect placement can damage underground utilities or compromise the structural integrity of the court.
- Ensure the ground is stable and suitable for drilling. Avoid drilling in areas with known unstable soil conditions or underground obstructions without proper assessment and mitigation.
Step-by-Step Instructions
Preparation
- Ensure the O-ring (or foam seal) is clean and properly seated to ensure a good seal.
- Accurately measure the desired location for the hole (37.75 inches from the court's edge in this case) to meet regulations.
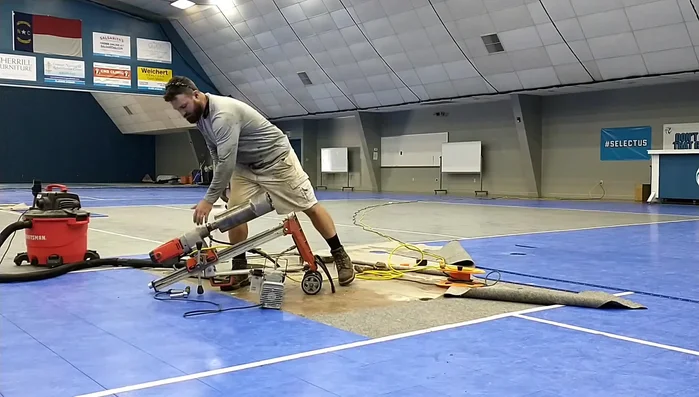
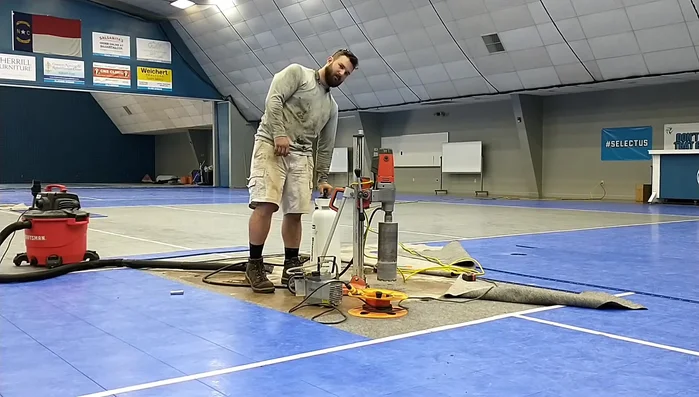
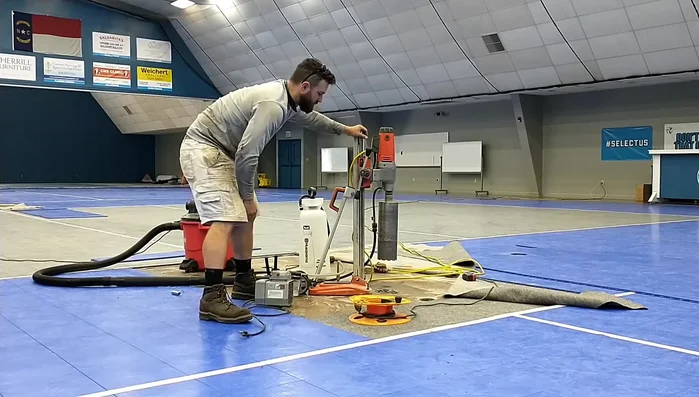
- Lower the drill and ensure it's held in place before commencing drilling.
- Attach the vacuum pump to create suction, preventing the drill from moving during operation.

Preparation - Use the bubble level on the drill to ensure it's perfectly vertical before drilling.
- Lightly wet the area around the drill bit to help with the drilling process.
Preparation Drilling Process
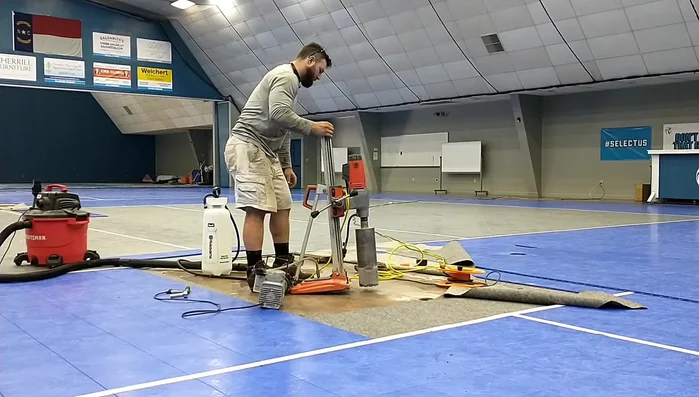
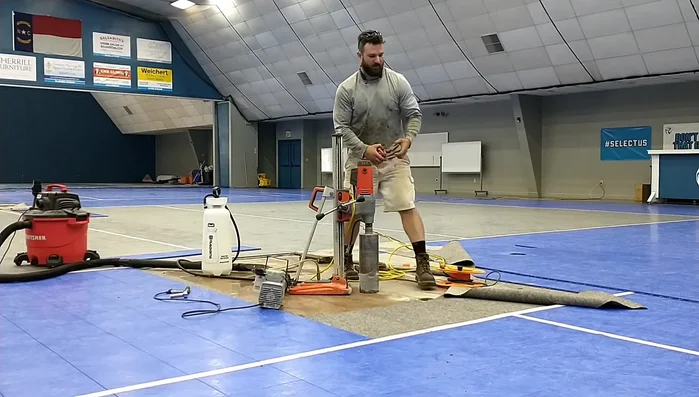
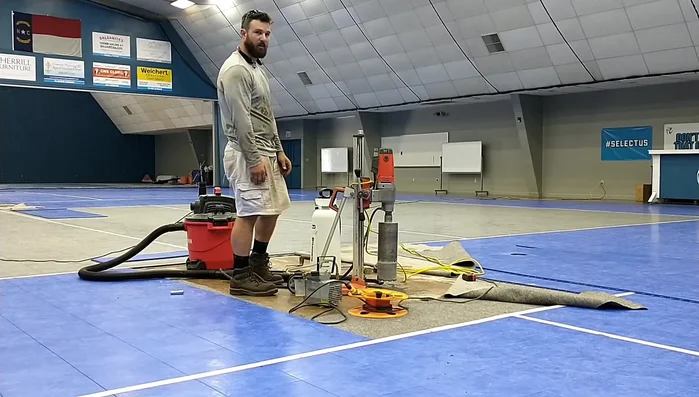
- Turn on the drill and let it operate. The vacuum pump will collect dust and debris. The video narrator indicates they will provide updates at 1, 2, 3, and 4 inches of depth.
- Continue drilling until it reaches the target depth. The narrator indicates this will be when the drill stops naturally.
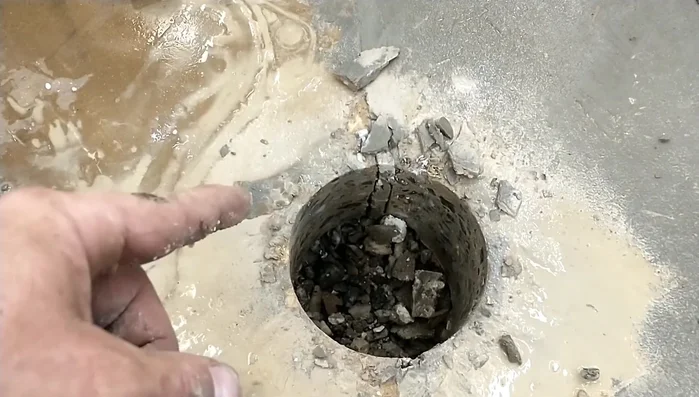
Drilling Process Completion and Installation
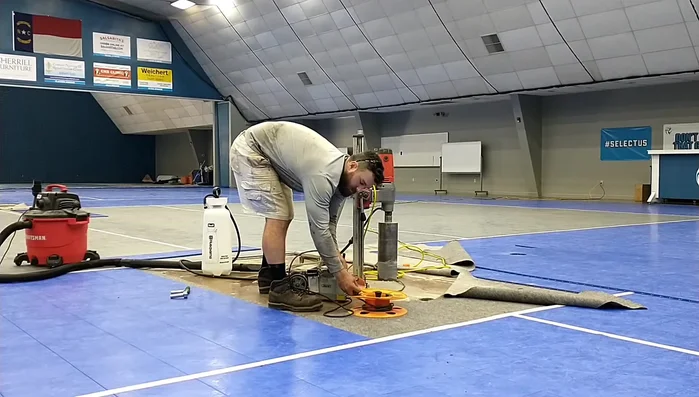
- Once drilling is complete, remove the core from the hole. This may require additional force or tools.
- Place a sleeve into the drilled hole, followed by additional concrete to secure it.
Completion and Installation
Read more: Efficient Post Sleeve Installation: A Quick & Clean Method
Tips
- Clean the O-ring thoroughly to ensure a good seal.
- Accurate measurements are critical for proper pole placement.
- Using a vacuum pump prevents dust and debris from interfering with the drilling process and helps keep the work area clean.
- Leveling the drill ensures a straight, vertical hole.