Setting up a tennis court for a thrilling game shouldn't be a Herculean task. Internal winder tennis posts offer a convenient and efficient solution for installing and managing your net, eliminating the hassle of traditional methods. These posts, with their ingenious internal winding mechanism, provide a smooth and reliable way to raise and lower your net, saving you time and effort. Forget struggling with external cranks and awkward adjustments – internal winders provide a streamlined and user-friendly experience.
This upgrade significantly simplifies court maintenance and setup, making it ideal for both seasoned players and occasional enthusiasts. Whether you’re preparing for a casual match or a competitive tournament, mastering the installation and use of these posts is key to a smooth and enjoyable game. To guide you through the process, let's delve into the step-by-step instructions outlined below.
Preparation and Safety Guidelines
- Internal Winder Tennis Posts
- Net
- Handle
- Tennis Posts
- Always ensure the ground is level and firm before installing the posts. Uneven ground can lead to instability and potential injury.
- Never use excessive force when tightening the winder mechanism. This can damage the internal components or cause the post to become unstable.
- Inspect the posts and winder regularly for any signs of wear or damage. Replace any damaged parts immediately to prevent accidents.
Step-by-Step Instructions
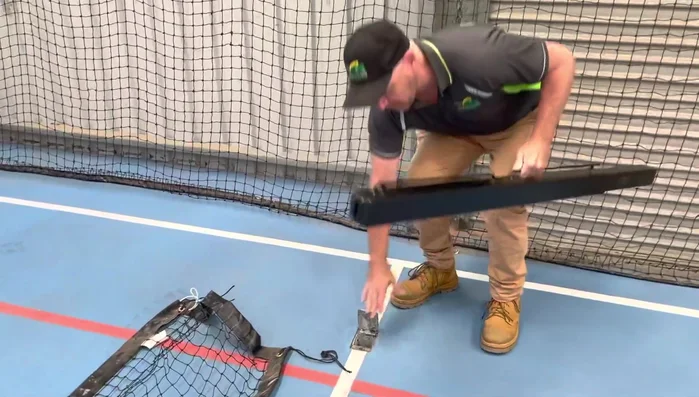
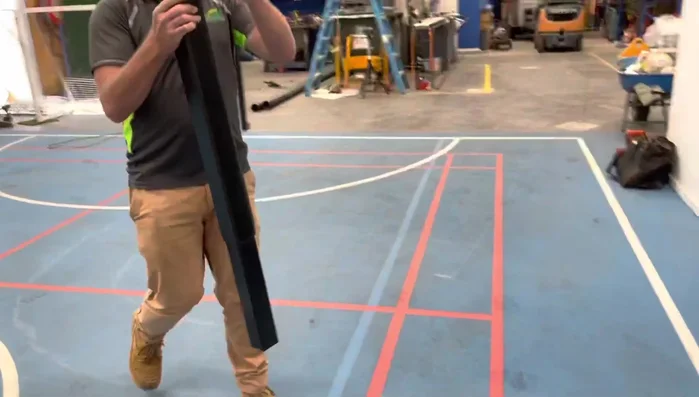
Prepare the Posts
- the neck hook side and the internal winder side.
- Position the flip top sleeves facing the rail forward. Ensure the small hook on the back of the sleeve is visible.
- Repeat steps 2-4 for the winder side.

Prepare the Posts Attach Net to Neck Hook Side
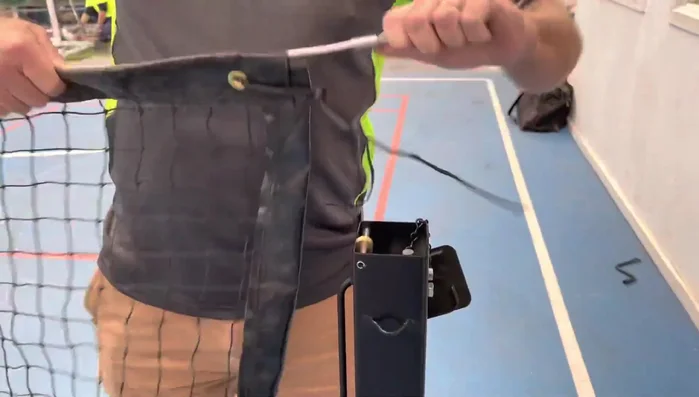
- Hook the net onto the hook on the back of the sleeve on the neck hook side.
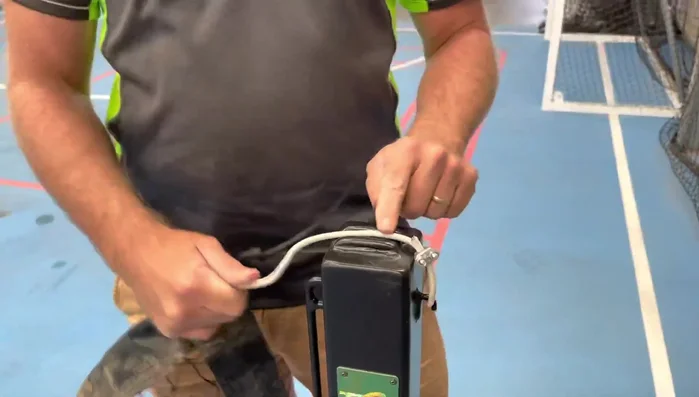
- Guide the cable through the little guide on the neck hook side.
Attach Net to Neck Hook Side Attach Net to Winder Side
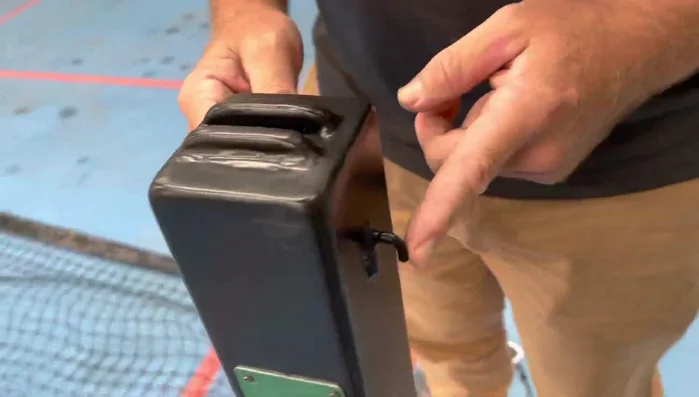
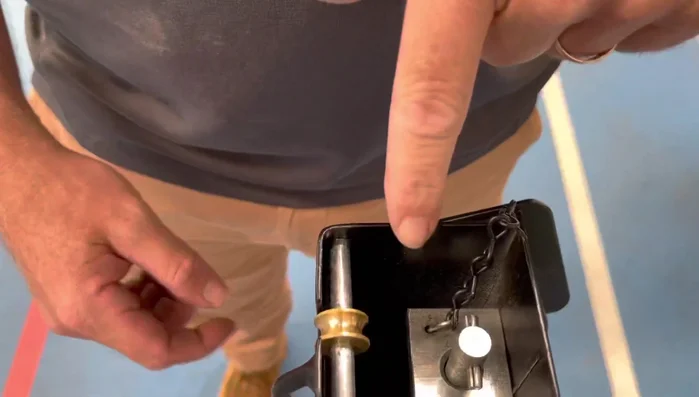
- Remove the little cap on top of the winder side sleeve to reveal a hook.
- Hook the cable onto the hook inside the winder side sleeve.
- Grab the cable and attach it to the little wheel guide on the winder mechanism.
Attach Net to Winder Side Wind and Secure the Net
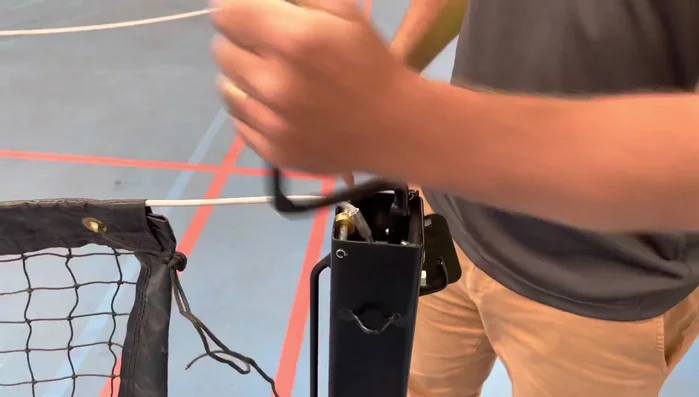
- Grab the handle and attach it to the winding mechanism on top of the post.
- Wind the handle until the net is taut, but avoid over-straining.
- Remove the handle once the desired height is reached. Replace the little lid on top of the winder mechanism.
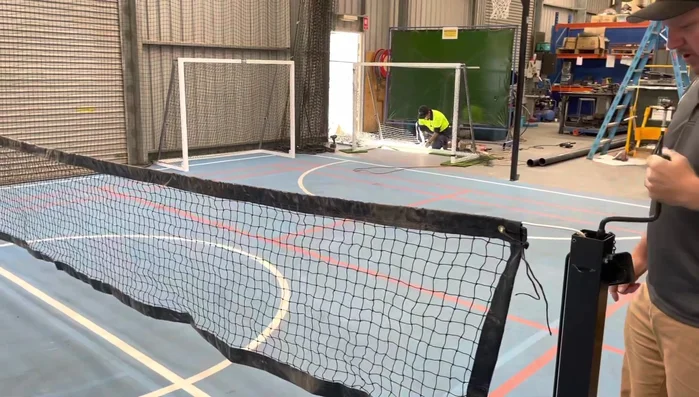
Wind and Secure the Net Store the Handle
- Store the handle either on the post or separately.
Read more: Core Drilling for Volleyball Court Pole Installation: A Step-by-Step Guide
Tips
- Don't over-strain the net while winding.