Post sleeves, those essential components for securing posts in various applications from fencing to construction, often present a challenge during installation. Fumbling with sleeves, struggling for a snug fit, and ending up with a messy, uneven result is a common frustration. Time is money, and inefficient installation methods can significantly impact productivity and overall project timelines. This article presents a streamlined, efficient approach to post sleeve installation, ensuring a clean and professional finish every time. We'll tackle common problems and offer solutions for a faster, smoother process.
This quick and clean method prioritizes simplicity and precision, minimizing the need for excessive force or adjustments. Forget wrestling with ill-fitting sleeves and embrace a technique that delivers superior results with minimal effort. Ready to learn how to install post sleeves effortlessly? Let's delve into the step-by-step process outlined below.
Preparation and Safety Guidelines
- Post sleeves
- Auger
- Concrete mixer
- Level
- Asphalt
- Gravel
- Water
- Always wear appropriate safety glasses to protect your eyes from potential debris or sharp edges during installation.
- Ensure the post sleeve is the correct size for your post and that the post is securely positioned before inserting the sleeve. Improper fit can lead to instability.
- Use caution when working with power tools. Follow manufacturer's instructions and ensure the tools are in good working order to prevent accidents.
Step-by-Step Instructions
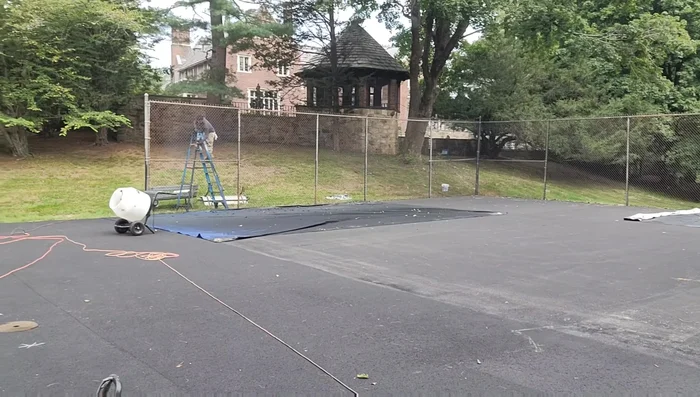
Site Preparation
- Prepare the ground. Ensure the area is clear of debris and the ground is forgiving (as opposed to hard-packed).

Site Preparation Sleeve Installation
- Install post sleeves 23.5 inches into the ground, ensuring they are only a half-inch above grade. Bell or ‘elephant foot’ the bottom of the sleeves for better stability.
- Place the post sleeves in their designated spots.
Sleeve Installation Concrete Mixing
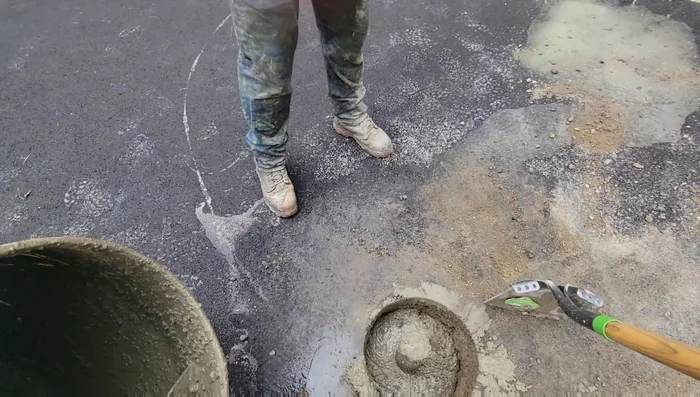
- Mix concrete. Add water gradually to keep the drum cool and prevent concrete dust from contaminating the post sleeves.
Concrete Mixing Concrete Pouring
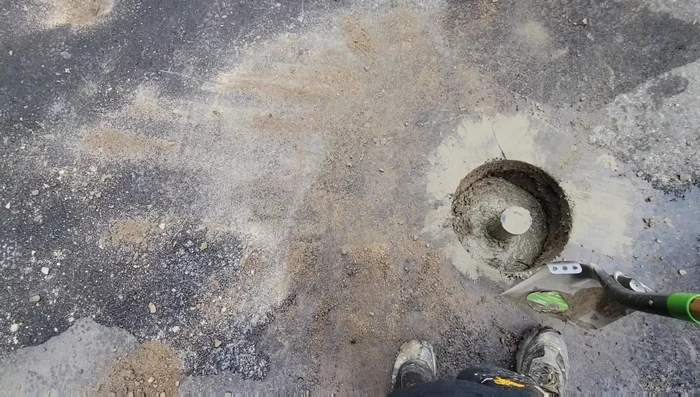
- Fill the sleeves three-quarters full with concrete.
Concrete Pouring Curing and Finishing
- Let the concrete harden. Once the concrete develops some strength, come back to level and add gravel and asphalt to the top.
Curing and Finishing
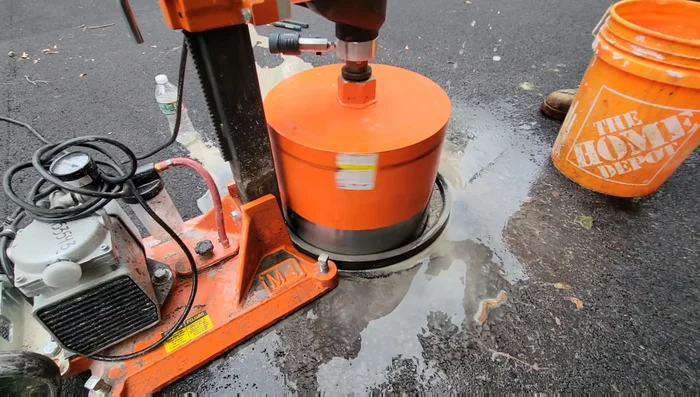
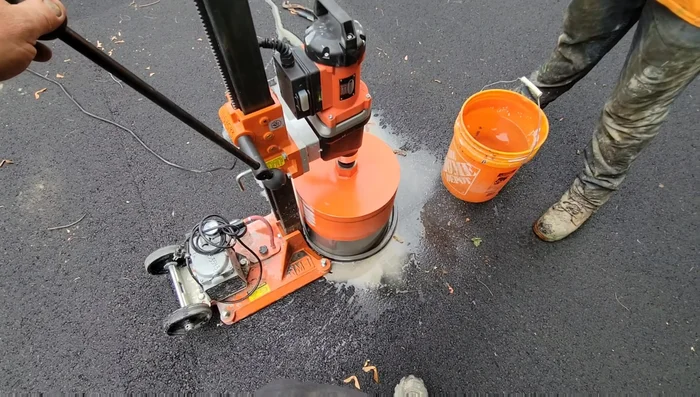
Read more: Core Drilling for Volleyball Court Pole Installation: A Step-by-Step Guide
Tips
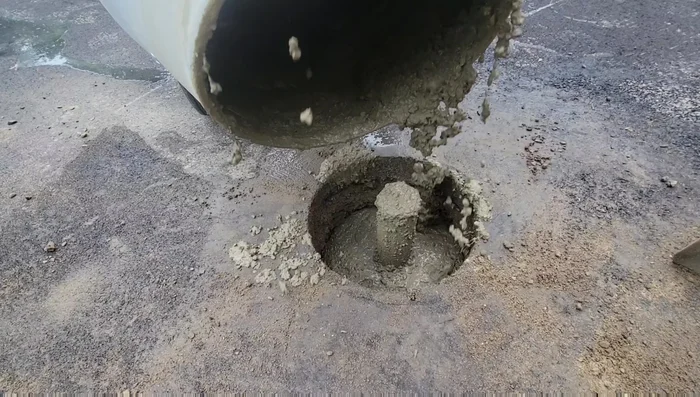
- Use an auger to loosen the dirt before setting the post sleeves, making installation faster and easier.
- When using the auger, work the outside of the hole to shave down the core and help it slide out better.
- Use the weight of the auger handle to provide enough ground pressure to keep it moving.
- Occasionally back off the auger (half turn) to prevent binding and ensure smooth progress.