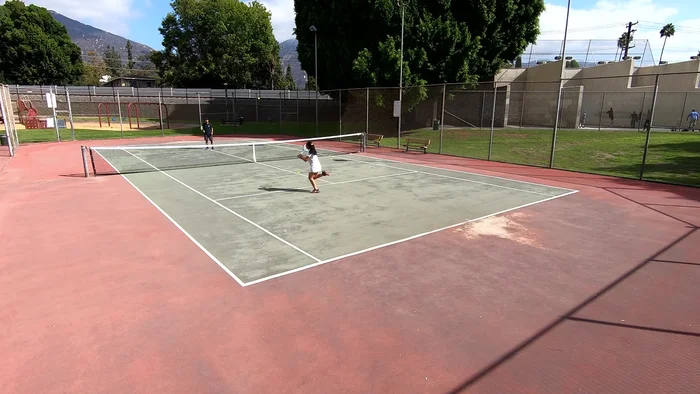
Want to analyze your tennis game like a pro but don't have the budget for expensive coaching? Then you're in the right place! This ultimate guide will walk you through creating your own DIY tennis practice video recording setup, transforming your backyard or local court into your personal performance lab. Forget blurry, unusable footage – we'll show you how to capture high-quality video that will unlock crucial insights into your swing, footwork, and overall strategy. Imagine the possibilities: identifying subtle flaws, tracking progress, and celebrating those perfect shots, all thanks to your own personalized recording system.
This guide offers a comprehensive, step-by-step approach to building a cost-effective and efficient video setup. We'll cover everything from choosing the right camera and mounting solutions to optimizing your recording settings and utilizing free video editing software. Ready to take your game to the next level? Let's get started!
Preparation and Safety Guidelines
- Extension Rods (Amazon)
- Metal Hooks
- Gopro Hero 7 Black
- External USB Battery Pack
- Velcro Strap
- 10-inch Selfie Stick
- Ensure your recording device is securely mounted and will not fall, potentially causing injury or damage. Use appropriate stands, tripods, or mounts.
- Never position recording equipment in a way that obstructs your view of the court or creates a tripping hazard. Maintain a clear and safe playing area.
- Be mindful of your surroundings. Avoid placing equipment where it might be hit by a tennis ball or where it could interfere with other players.
Step-by-Step Instructions
Prepare the Mounting System
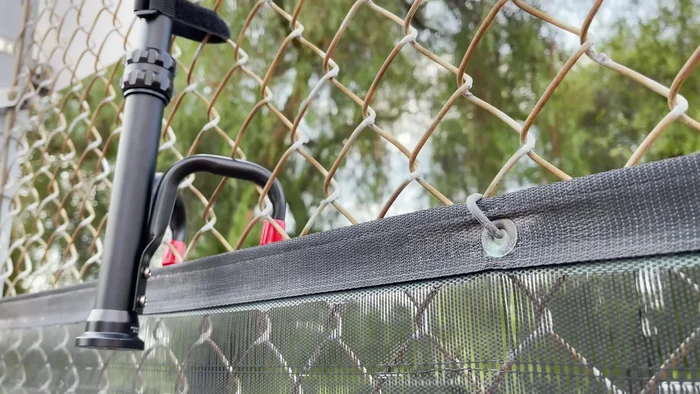
- Attach extension rods to the fence using metal hooks.
- For higher vantage points, use the 10-inch selfie stick to mount the GoPro at the top of the fence.

Prepare the Mounting System Attach the GoPro
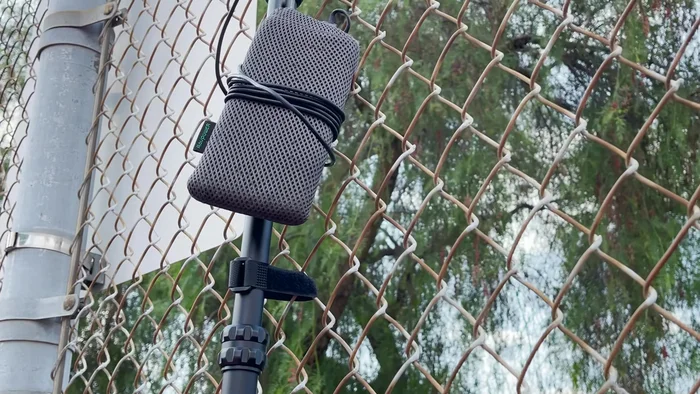
- Mount the GoPro Hero 7 Black (without battery pack) to the extension rods.
Attach the GoPro Power the GoPro
- Connect the external USB battery pack to the GoPro for extended recording time.
Power the GoPro Position and Secure the Camera
- Adjust the camera angle and secure the setup using a velcro strap for stability.
Position and Secure the Camera Control the Recording
- Remotely control the GoPro using the iPhone app.
Control the Recording

Read more: Core Drilling for Volleyball Court Pole Installation: A Step-by-Step Guide
Tips
- Use aluminum extension rods for sturdiness.
- Remove the GoPro battery pack to extend recording time with the external battery pack.
- The selfie stick is useful for higher camera positions, but it's somewhat flimsy.
- Adjust camera angle before securing to the fence.