Tennis, a sport demanding precision and finesse, relies heavily on the seemingly simple tennis net. This often-overlooked piece of equipment plays a crucial role in the game's integrity, directly impacting fair play and the enjoyment of the match. A sagging, torn, or improperly maintained net can disrupt gameplay, leading to frustrating bounces and potentially even injuries. Therefore, understanding proper net repair and maintenance is essential for players, coaches, and club owners alike, ensuring a consistently smooth and enjoyable tennis experience.
This comprehensive guide will equip you with the knowledge and practical steps needed to keep your tennis net in top condition. From identifying common problems like broken strings and damaged posts to learning the correct techniques for repair and preventative maintenance, we'll walk you through the entire process step-by-step, ensuring your net remains a reliable fixture on the court for years to come.
Preparation and Safety Guidelines
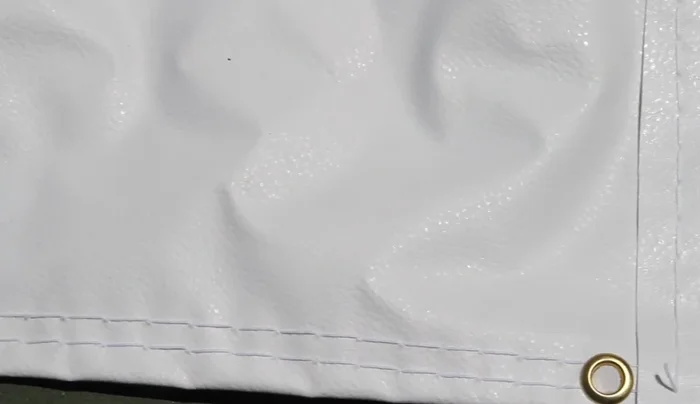
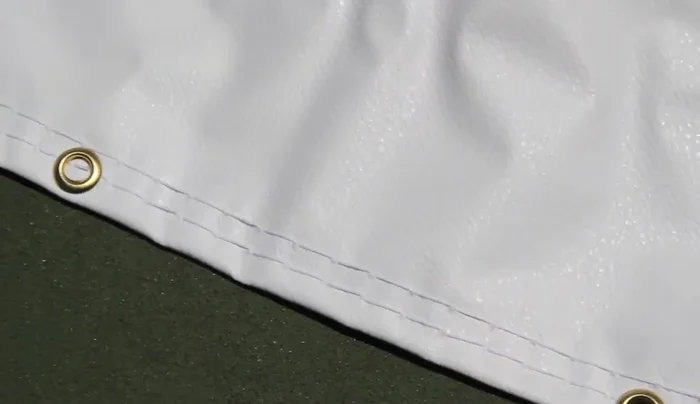
- Tennis net headband replacement
- String
- Scissors
- Edwards tennis net strap
- Flat head screwdriver
- Measuring tape
- 9/16 box end wrench
- Measuring stick (36 & 39 inches)
- Homemade dowel rods (36 inches)
- Corner flags
- Scoring tube
- Cable ties
- Always disconnect the net from the posts before undertaking any repair or maintenance. Failure to do so could result in injury.
- Use caution when handling sharp objects like wire cutters or scissors. Wear gloves if necessary to prevent cuts.
- If working at height (e.g., tightening the center strap), use a stable ladder and ensure it's properly positioned to avoid falls.
Step-by-Step Instructions
Headband Removal and Preparation
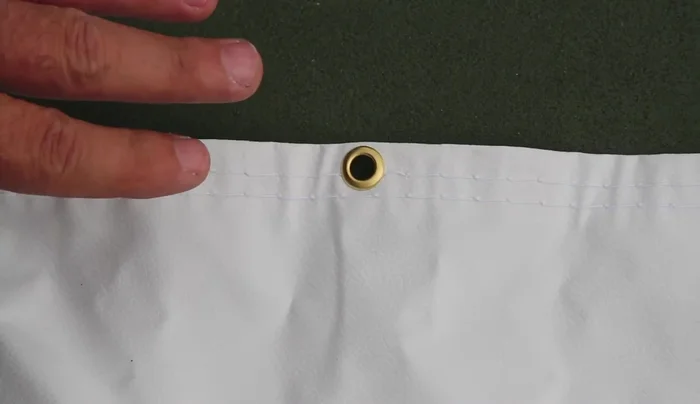
- Remove old headband and grommets.
- Prepare the new headband; punch out grommets if necessary.
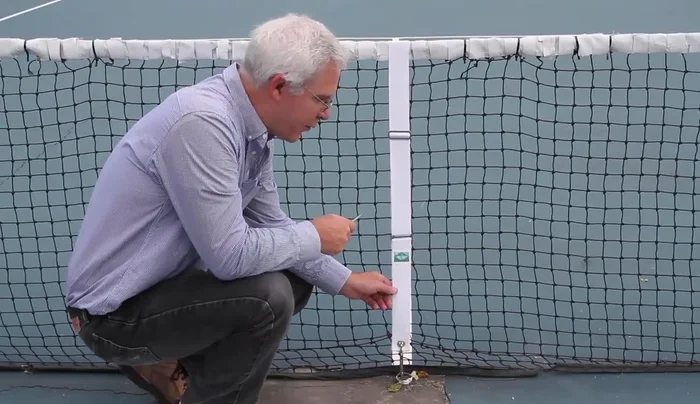
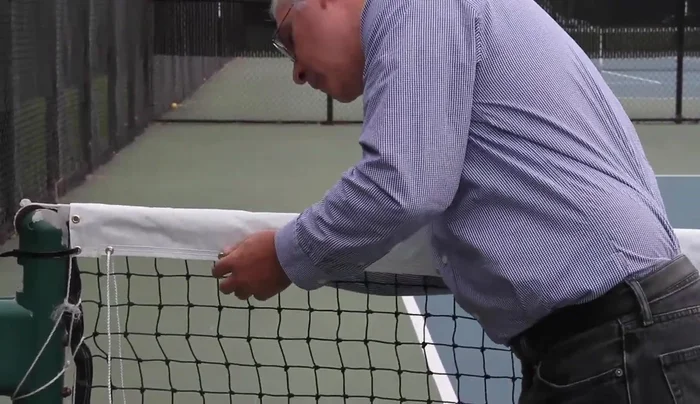
- Remove the center strap.
- Clean the connection at the bottom of the center strap.

Headband Removal and Preparation New Headband Installation
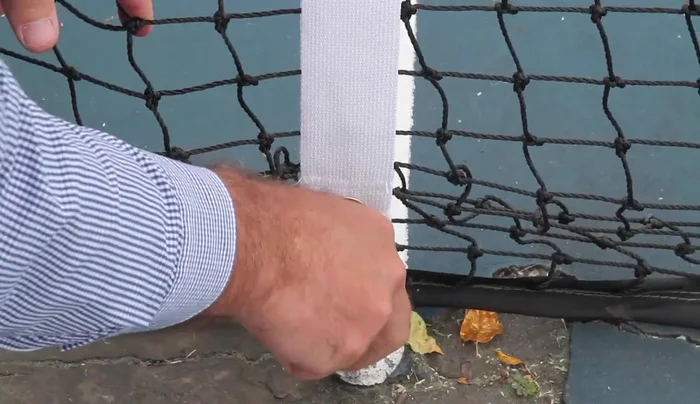
- Install the new headband, ensuring the 'pretty' side faces outwards.
- Temporarily secure the new headband with cable ties.
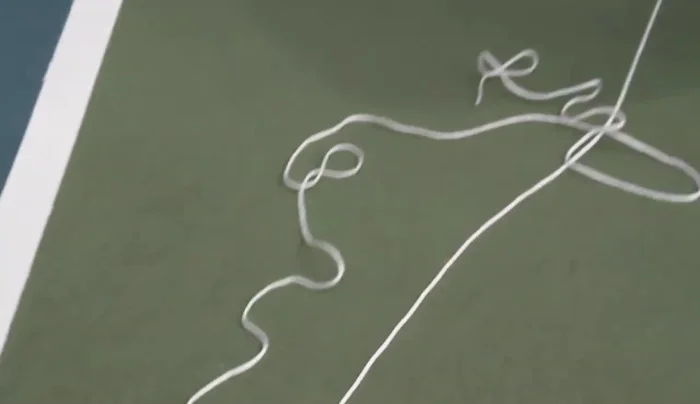
- Lace the new string through the grommets, keeping the string taut.
- Secure the ends of the string.
New Headband Installation Net Tension Adjustment
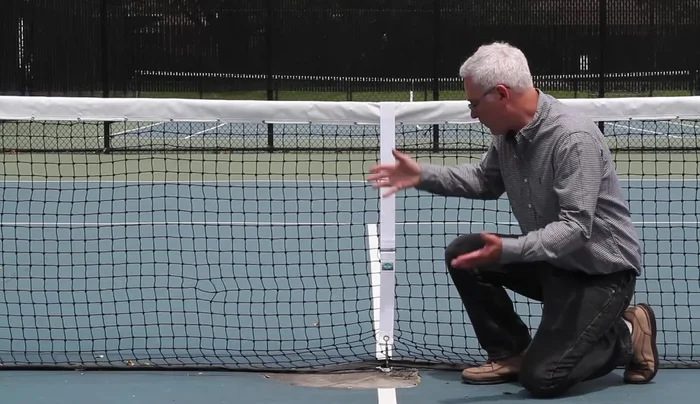
- Adjust net tension using a 9/16 wrench to reach 39 inches, then use the center strap to lower to 36 inches.
- Reinstall the center strap, adjusting the tension to achieve the correct net height.
Net Tension Adjustment Scoring Tube Relocation
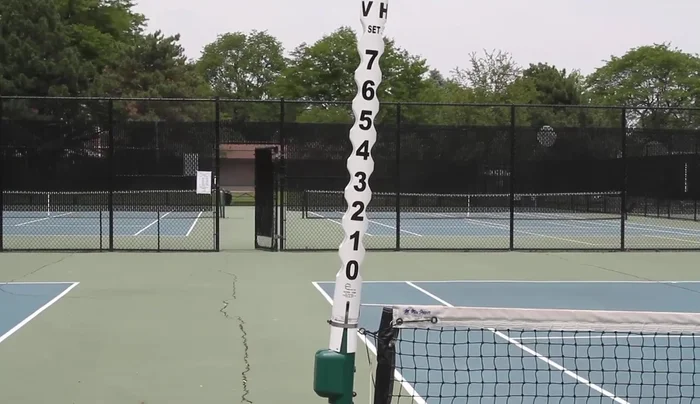
- Relocate scoring tube to the side of the fence for better durability.
Scoring Tube Relocation

Read more: Core Drilling for Volleyball Court Pole Installation: A Step-by-Step Guide
Tips
- Remove grommets outside the court to avoid mess.
- Use a flathead screwdriver to clean dirt from the center strap connection.
- Pay attention to the correct orientation of grommets (pretty side outwards).
- Use measuring sticks or a racket to check net height if you don't have a measuring tape.
- Use single sticks to ensure correct net placement for singles play on a doubles court.