Tired of spending ages wrestling with your tennis net, only to end up with a wobbly, uneven setup? We've all been there – battling tangled ropes and struggling to get the tension just right, leaving little time for actual play. Imagine a world where setting up your tennis net is quick, effortless, and produces a perfectly taut playing surface every time. This isn't a fantasy; it's achievable with the right techniques and a bit of know-how. Forget frustrating fumbles and wasted time – let's get you on the court faster.
This guide provides a fast-track method for setting up your tennis net, ensuring a smooth and efficient process from start to finish. We'll break down the entire process into simple, easy-to-follow steps, complete with helpful tips and tricks to achieve a professional-looking setup in minimal time. Ready to experience the thrill of a perfectly tensioned net and a game without delay? Let's dive into the step-by-step process and get you playing tennis in minutes!
Preparation and Safety Guidelines
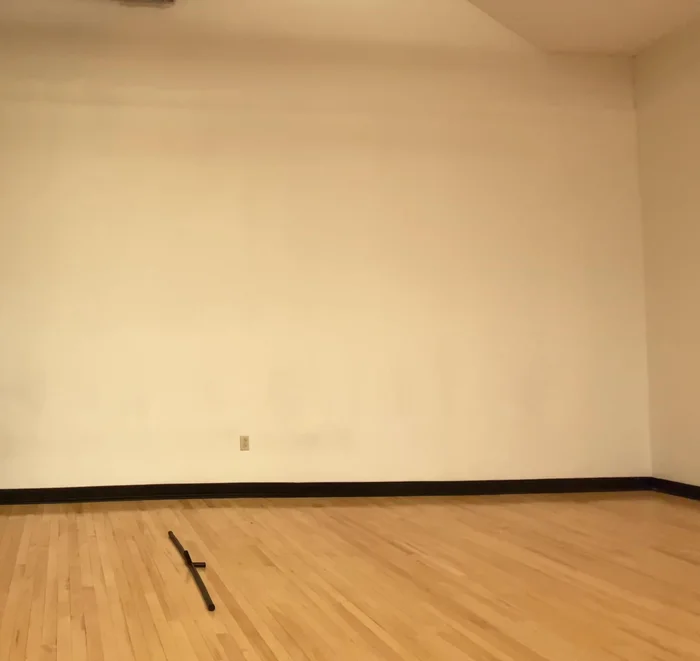
- Fast Track tennis net
- Metal spacer
- Fiberglass poles
- Velcro straps
- Metal frame corner pieces
- White fiberglass cross pole
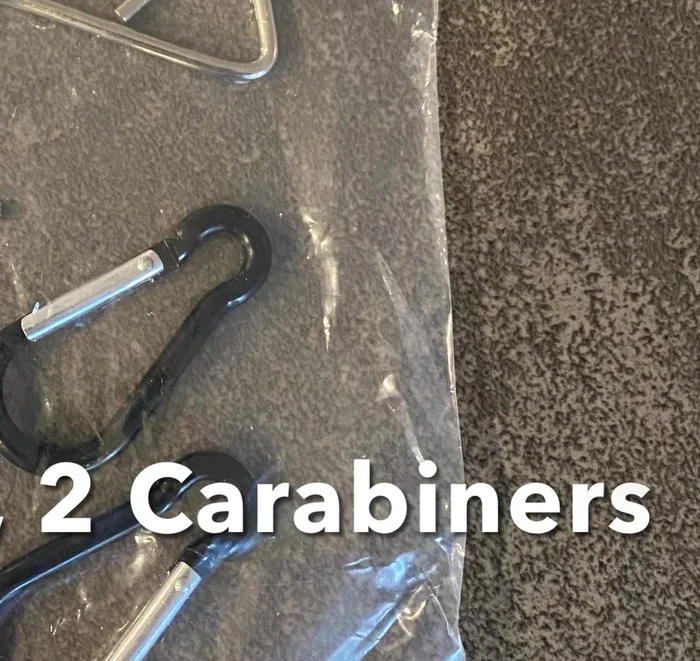
- Carabiner clips
- Metal hooks
- Always ensure the ground is level before setting up the net. Uneven ground can cause instability and potential injury.
- Never rush the process. Take your time to correctly secure all posts and tension the net to avoid accidents or damage.
- Be mindful of your surroundings. Clear the area of any obstacles or people before and during setup to prevent tripping or collisions.
Step-by-Step Instructions
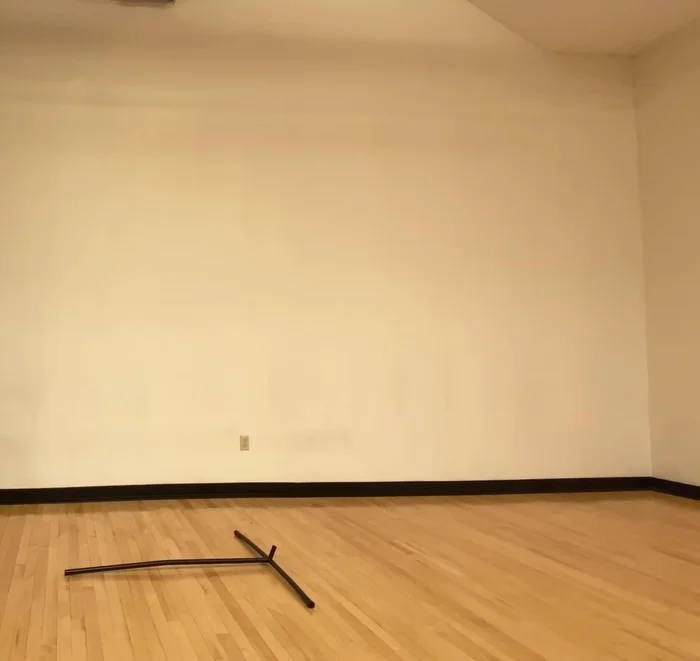
Prepare Components
- metal frame corner pieces, fiberglass poles, etc.

Prepare Components Assemble Frame
- Assemble the metal frame, ensuring the metal spacer is securely attached.
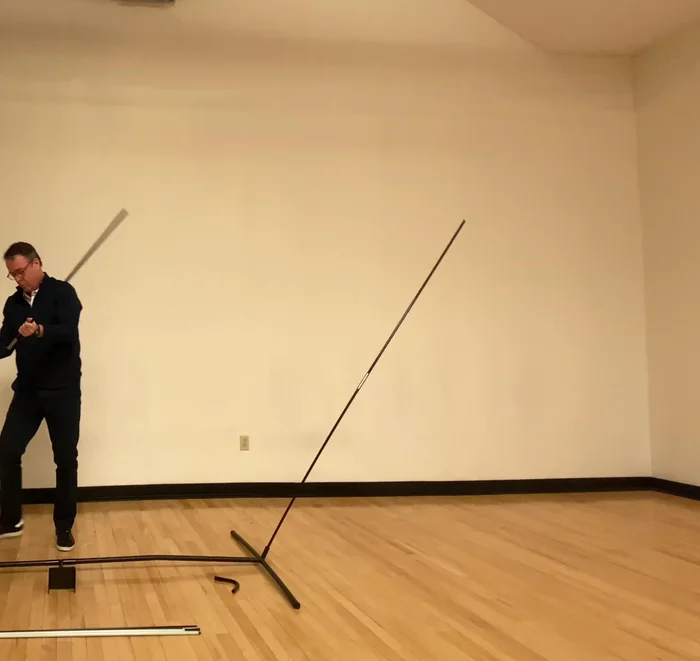
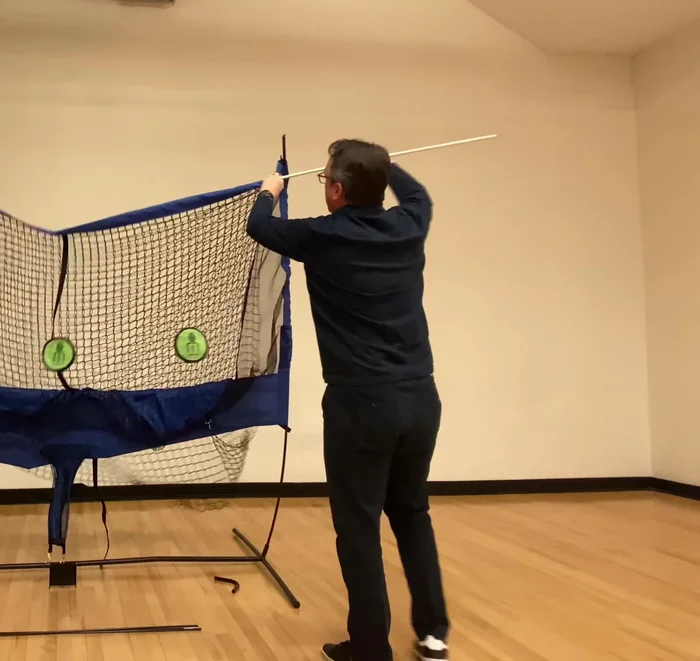
Assemble Frame Attach Main Poles and Net
- Insert the two black fiberglass poles into their respective sleeves, identifying the back strap as the top middle.
- Loosely hook the net over the top of the poles and pull across to the other side, allowing the poles to bend gently.
- Repeat step 4 for the other side.
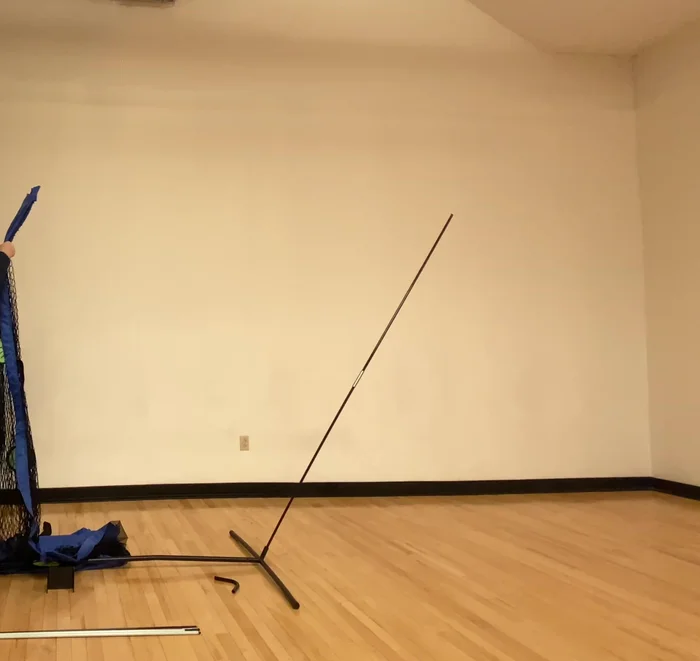
Attach Main Poles and Net Attach Crossbar
- Insert the white fiberglass cross pole through the top sleeves, attaching the metal corner pieces to both the white and black poles.
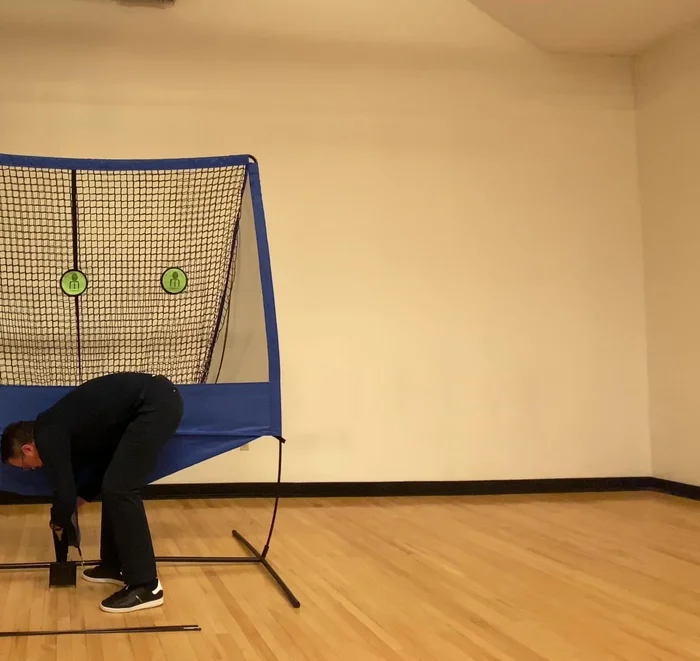
Attach Crossbar Secure Frame
- Secure the velcro strap through the metal loop on the spacer.
Secure Frame Attach Side Poles
- Insert the three-piece skinny fiberglass pole into the sleeve on the right side of the net, working it gently through the semi-circle shape.
- Repeat step 8 for the other side.
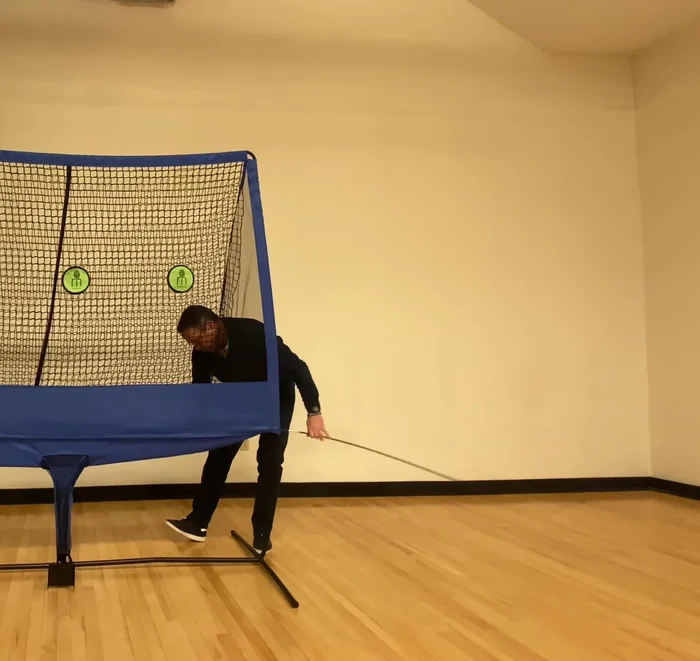
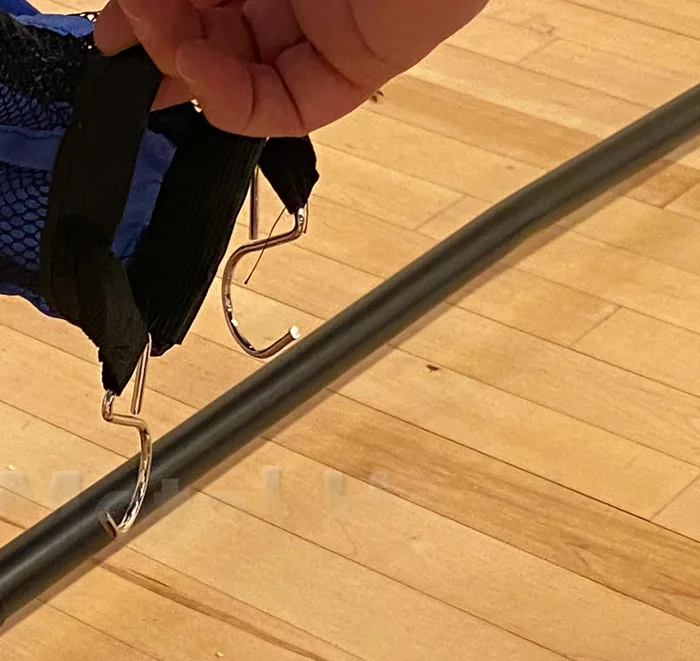
Attach Side Poles Secure Net and Ball Chute
- Secure the hanging net with the included carabiner clips.
- Add the metal hooks to the velcro straps on the ball chute.
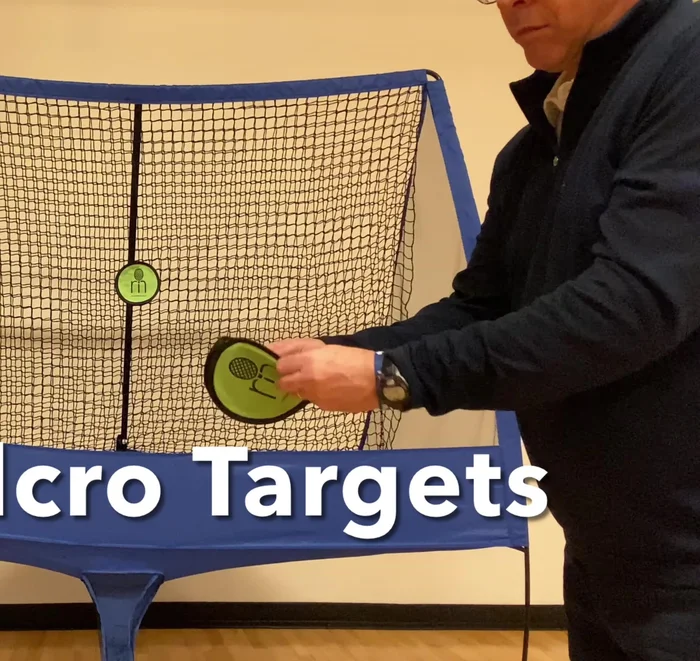
Secure Net and Ball Chute Attach Targets
- Attach velcro targets.
Attach Targets

Read more: Assemble and Utilize Your Tennis Ball Trolley: A Step-by-Step Guide
Tips
- Add the metal spacer as one of your first steps.
- This method is easy and quick, even for those who aren't tall.
- The fiberglass poles are designed to bend gently, making setup easier.
- Ensure all connections, sleeves, and velcro closures fit neatly together.