Tennis, a sport demanding agility and precision, also requires efficient organization. A well-maintained tennis ball trolley is crucial for any serious player or coach, ensuring easy access to balls during practice or matches and preventing unnecessary interruptions to gameplay. The right trolley can streamline your workflow, saving you valuable time and energy, allowing you to focus on what truly matters: improving your game. Beyond simple storage, a properly assembled trolley contributes to the longevity of your tennis balls, protecting them from the elements and minimizing wear and tear.
This article serves as your comprehensive guide to successfully assembling and effectively utilizing your tennis ball trolley. From unpacking the components to mastering efficient ball retrieval and storage techniques, we'll walk you through each step, ensuring you're ready to optimize your tennis experience with a perfectly functional and organized trolley system. Let's get started with the step-by-step instructions below.
Preparation and Safety Guidelines
- Tennis Ball Trolley
- Phillips Head Screwdriver
- Hammer
- Always ensure the trolley is stable and evenly loaded before moving it to prevent tipping and potential injury.
- Avoid overloading the trolley beyond its stated weight capacity. Overloading can damage the trolley and create safety hazards.
- Be mindful of your surroundings when moving the trolley, especially in crowded areas or on uneven surfaces. Watch out for obstacles and other people.
Step-by-Step Instructions
Unpacking and Preparation
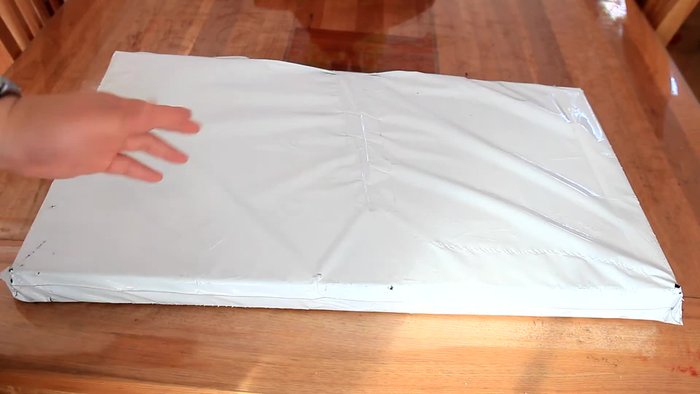
- Unpack the tennis ball trolley from its box.

Unpacking and Preparation Assembling the Side Panel
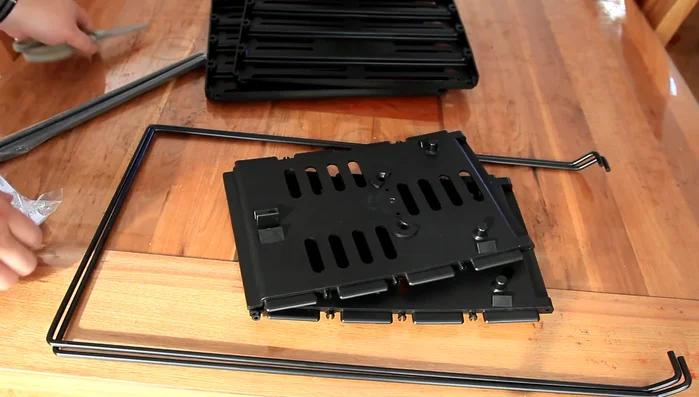
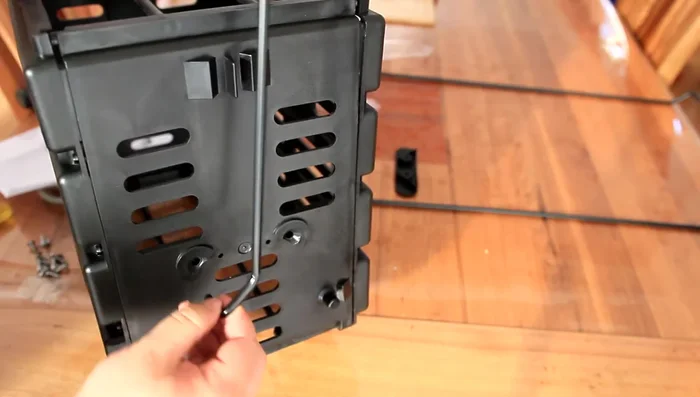
- Locate the side panel and use a Phillips head screwdriver to remove screws securing it.
- Assemble the side panel, using the hammer to gently tap it into place.
Assembling the Side Panel Assembling Remaining Panels
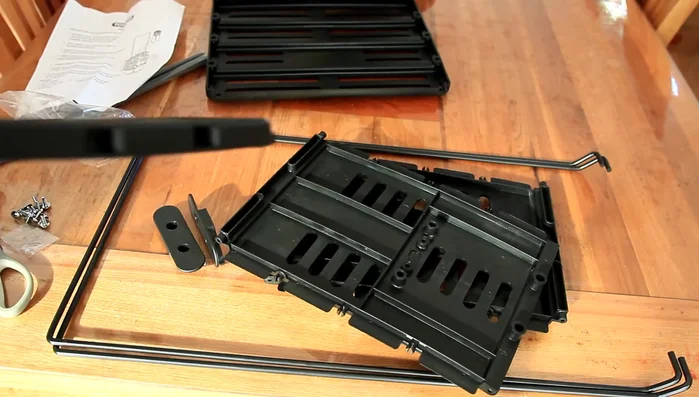
- Repeat the process for the remaining side panels and bottom panel, referring to instructions as needed. Ensure panels are correctly aligned before securing.
Assembling Remaining Panels Securing and Tightening
- Secure all panels with screws and tighten.
Securing and Tightening Testing the Trolley
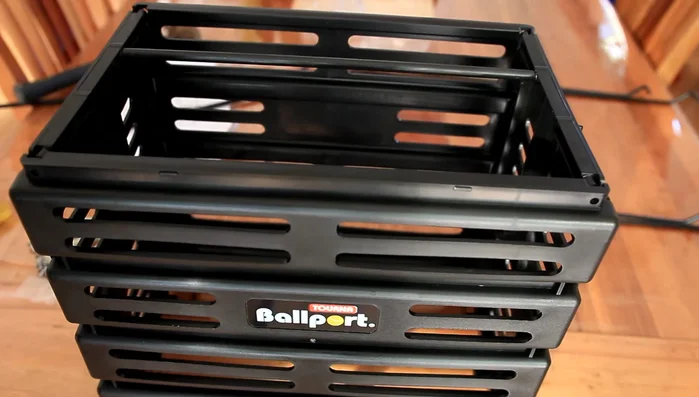
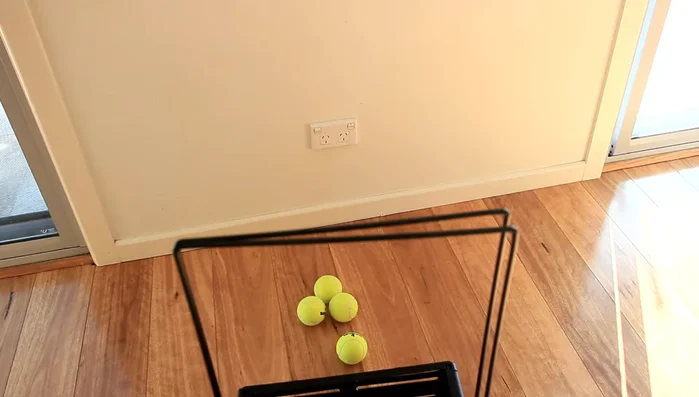
- Test the trolley by placing tennis balls inside. The capacity is approximately 80 balls.
Testing the Trolley
Tips
- Read the instructions carefully before beginning assembly.
- Use a hammer to gently tap the panels into place, avoiding forceful strikes.
- Ensure all panels are correctly aligned before tightening screws.
- The trolley can hold approximately 80 tennis balls.
- Consider reusing the tennis ball tubes for storage or other purposes.