Maintaining a comfortable and secure grip on your tennis racket is crucial for optimal performance. A worn or slippery overgrip can lead to discomfort, blisters, and ultimately, a loss of control. Fortunately, replacing your tennis racket's overgrip is a simple and cost-effective way to significantly improve your game. This step-by-step guide will walk you through the entire process, from removing the old overgrip to securely applying a new one, ensuring a perfect fit for your hand and a confident grip on every shot. With just a few minutes and readily available materials, you can easily refresh your racket and enjoy enhanced control and comfort on the court.This guide provides clear and concise instructions, accompanied by helpful tips and suggestions to make the regripping process as smooth and efficient as possible. Whether you're a seasoned tennis player or a beginner, mastering this essential maintenance task will save you money and extend the life of your racket. Learn how to properly remove the old grip, choose the right materials, and apply your new overgrip securely, resulting in a comfortable and dependable grip that enhances your performance and enjoyment of the game. Let's get started!
Read more: Top 5 Synthetic Tennis Overgrips You Need to Try
Removing the Old Overgrip
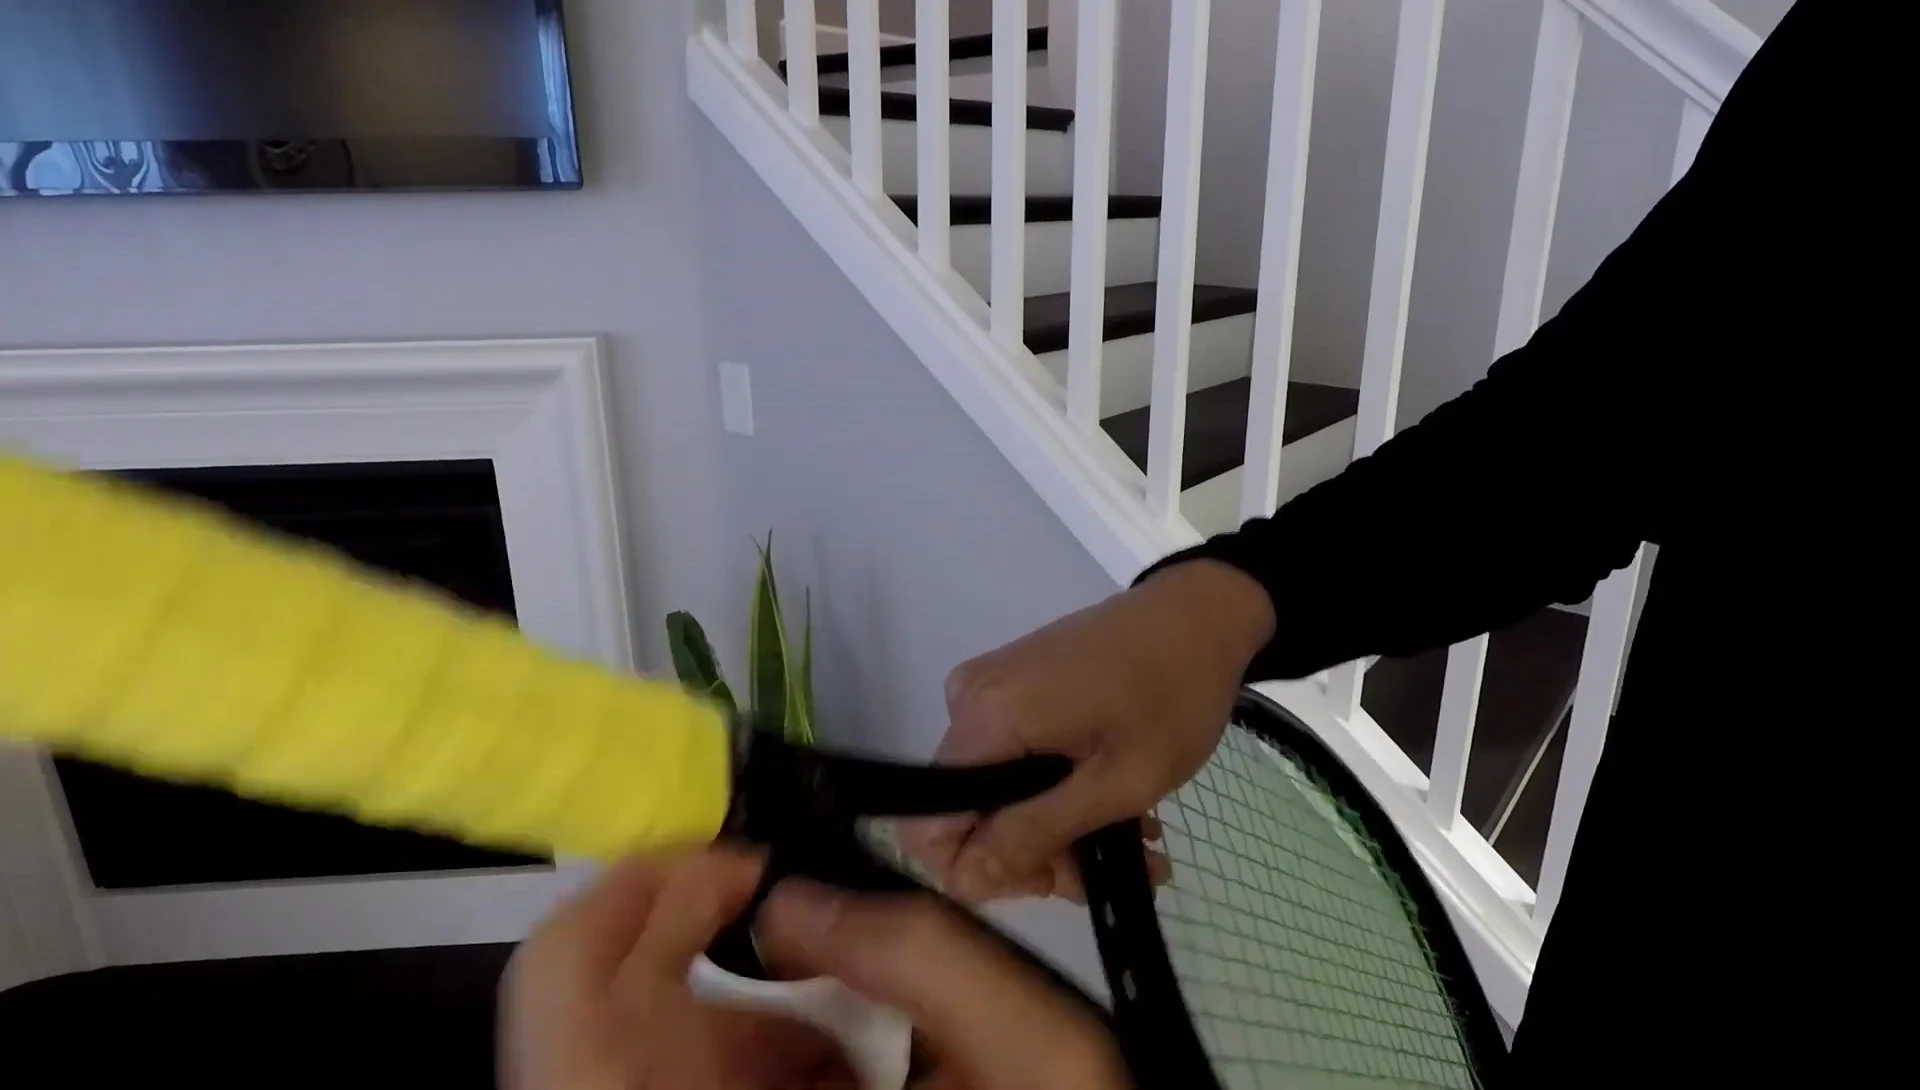
Begin by removing the old overgrip from your tennis racket. Start by peeling off any existing tape securing the grip. Carefully unwind the old overgrip, starting from the throat of the racket. Take your time to avoid tearing the old grip and potentially damaging your racket.
Removing the old overgrip completely is crucial for a successful regrip. Be patient and ensure all the old material is removed before you begin applying the new overgrip.
Preparing the New Overgrip
Most overgrips come with a protective plastic film. Remove this film, remembering that the plastic side should face outwards when applying the overgrip to the racket. This ensures a smooth, comfortable feel during play.
Some overgrips, like Yonex Supergrap, have adhesive at one end. This adhesive can be helpful in starting the application process. Make sure you inspect your overgrip before starting to take advantage of any such feature.
Applying the New Overgrip
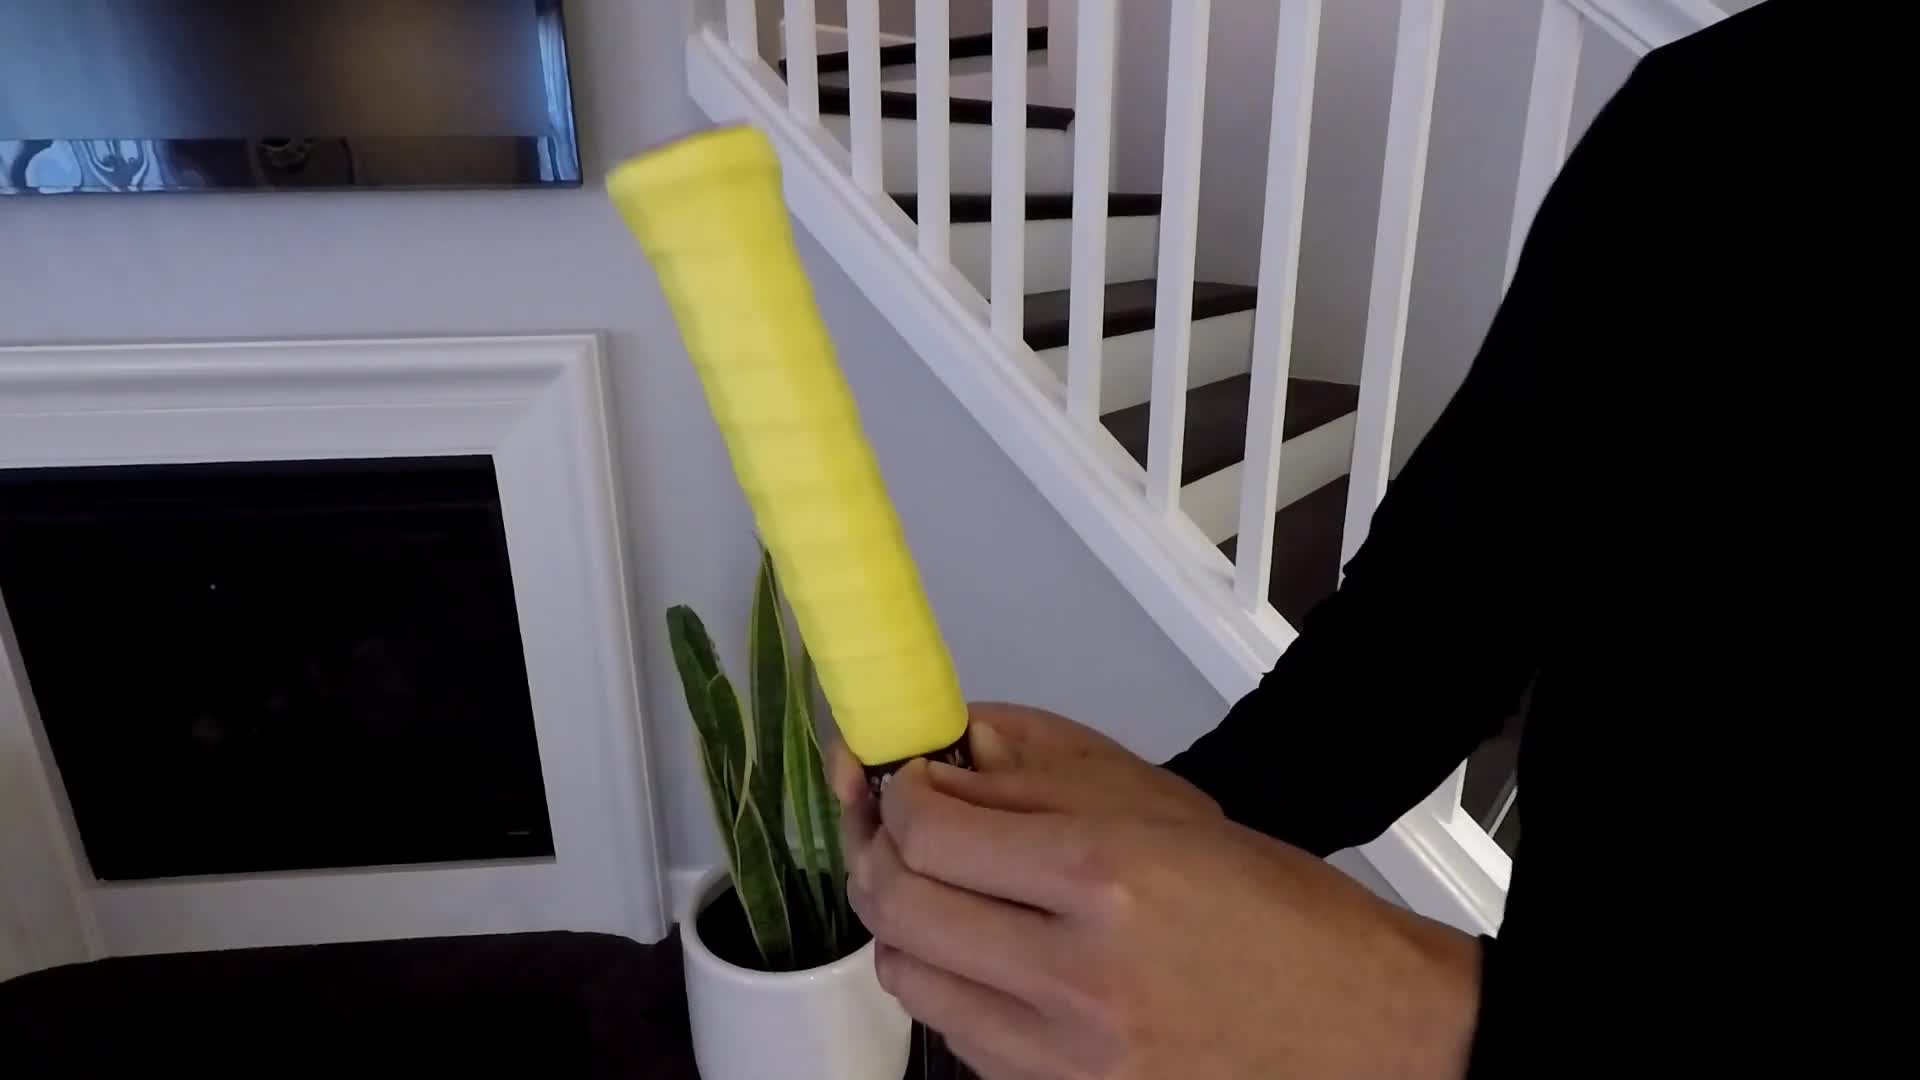
Begin applying the overgrip to your racket. A good starting point is the second bevel of the racket handle. Secure the adhesive (if present) to this area and then begin wrapping, overlapping each turn by about a quarter of the width. This ensures a secure and even application.
Maintain consistent tension and wrapping as you work your way down the handle to the bottom of the grip. Overlap each turn for added security and to avoid gaps that might lead to slipping during use.
Securing the Overgrip
Once you’ve reached the end of the overgrip, use a piece of tape to secure the remaining material to the throat of the racket. Ensure the tape is firmly adhered to prevent the overgrip from unwinding during play. This step is crucial for the longevity of the overgrip.
There are many types of tape available to secure your overgrip, but athletic tape or racket grip tape works best. Experiment to find what you prefer for a secure but easily removable wrap.
Conclusion
Replacing your tennis racket overgrip is a straightforward process that significantly improves your grip and comfort on the court. By following these steps, you can easily refresh your racket and optimize your performance. Regular replacement ensures a firm grip, preventing slipping and blisters.
The process is relatively quick and inexpensive, making it a worthwhile investment for any serious tennis player. Consider trying different overgrip brands and materials to find the one that best suits your playing style and preferences.