Tennis players constantly seek ways to enhance their game, and choosing the right dampener can significantly impact feel and vibration control. A well-placed dampener can subtly reduce jarring vibrations from the strings, leading to a more comfortable and potentially more consistent swing. While seemingly insignificant, the proper attachment of a dampener can affect its effectiveness, ensuring you truly reap the benefits of reduced shock and improved feel. Incorrect placement can lead to unwanted noise or even damage to the strings.
Choosing the right dampener is only half the battle; attaching it correctly is just as crucial. This article will provide a comprehensive, step-by-step guide on how to securely and effectively attach your scoring right dampeners to your tennis racket, maximizing their impact on your game. Let's dive into the process and ensure your dampener is providing optimal performance.
Preparation and Safety Guidelines
- Onyx eZone 100 racket
- Scoring Right dampeners
- Isopropyl alcohol
- Clean tissue or cloth
- Ensure the dampener is the correct size and type for your racket's grommets. Forcing a dampener that's too large or small can damage your racket.
- Avoid over-tightening the dampener. Gently push it into the grommets until it's snug; excessive force can break the dampener or damage the grommets.
- If you experience any difficulty attaching the dampener, stop and consult the manufacturer's instructions or seek assistance. Forcing it can lead to injury or damage.
Step-by-Step Instructions
Preparation
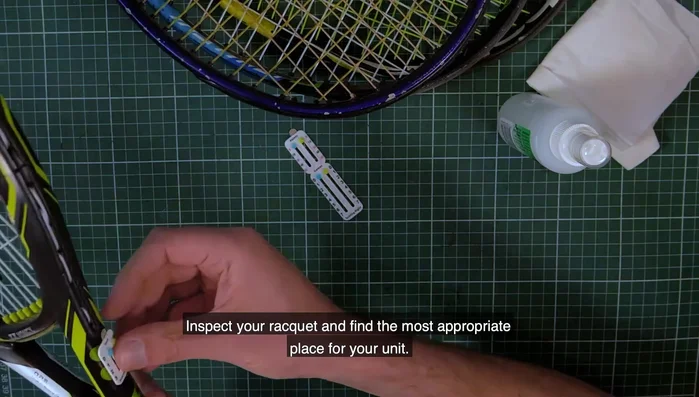
- Inspect your racket and find the most appropriate place for the unit before attachment. Consider inside or outside the racket throat.
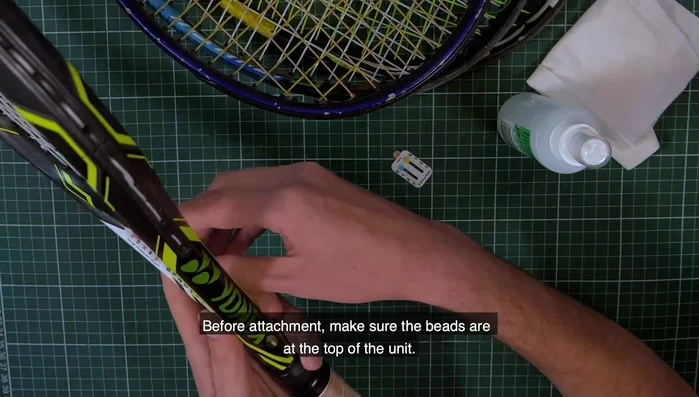
- Make sure the beads are at the top of the unit before attaching.
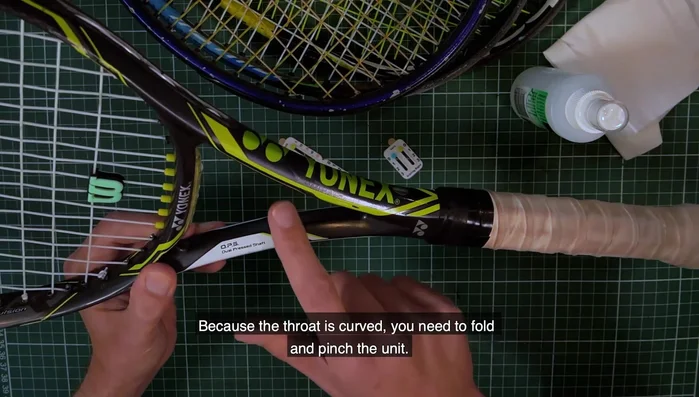
- Fold and pinch the unit to fit the curved racket throat. The material is durable, so don't worry about damaging the print. If a bead falls out, pop it back in.
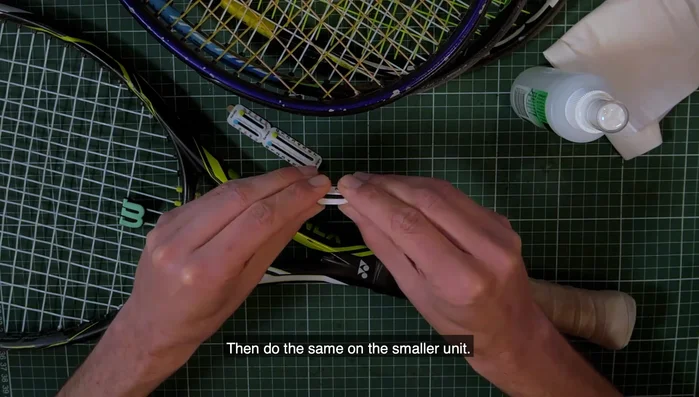
- Repeat steps 2 and 3 for the smaller unit.

Preparation - Clean your racket with isopropyl alcohol to remove oils and ensure a strong bond.
Preparation Application
- Let the alcohol dry completely before attaching the unit.
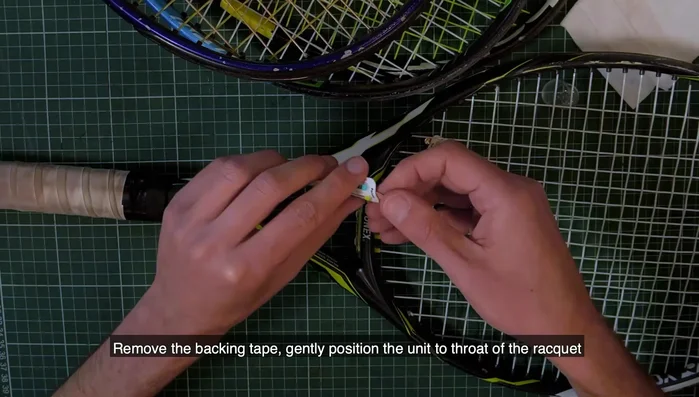
- Remove the backing tape and gently position the unit on the racket throat. Apply pressure for at least 30 seconds.
Application Finishing
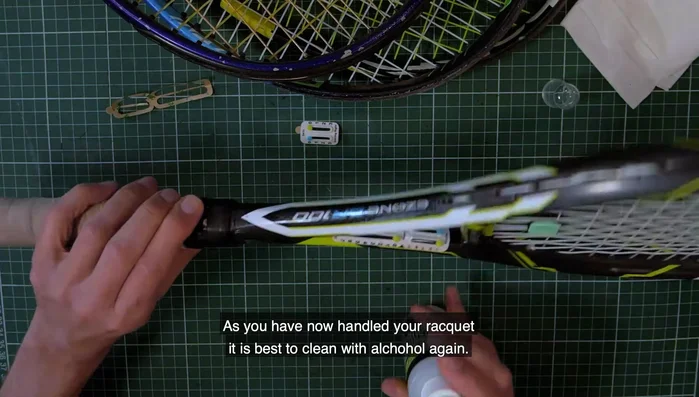
- Clean the racket with alcohol again after handling. Repeat the application process for the smaller unit.
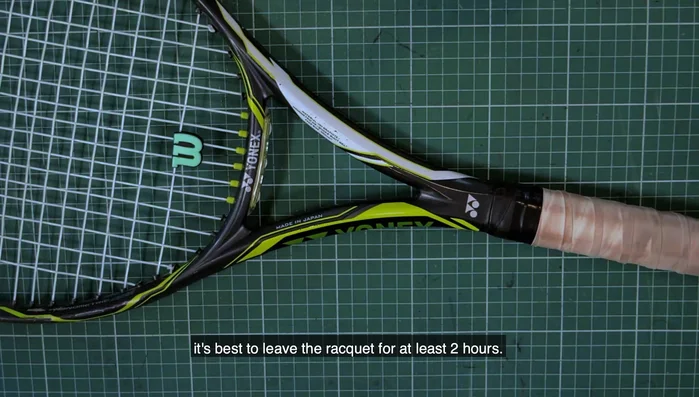
- Leave the racket for at least two hours to ensure the strongest adhesive bond.
Finishing


Read more: Mastering the Symington Singles Score Sheet: A Step-by-Step Guide
Tips
- The Onyx eZone 100's hexagon throat profile makes attachment challenging. Consider the inside or outside placement based on your racket's design.
- At first, the beads might be hard to move, but they will loosen up over time.