Tennis grips are more than just a comfortable hold; they're the crucial link between you and your racket, directly impacting your shots' power, control, and feel. A poorly applied grip can lead to discomfort, blisters, and ultimately, hinder your performance on the court. Conversely, a professionally applied grip enhances your game and extends the life of your racket. Many players struggle to achieve that clean, factory-fresh look and feel, leaving them frustrated and with less than optimal playing conditions. This often leads to premature grip replacement, costing both time and money.
This ultimate guide will walk you through the process of applying tennis grips, step-by-step, ensuring a flawless finish that rivals any professional job. We'll cover everything from choosing the right grip to mastering the crucial techniques for a perfectly snug, wrinkle-free result. Get ready to transform your racket and elevate your game with a grip that feels as good as it looks.
Preparation and Safety Guidelines
- Tennis racket
- Overgrip
- Replacement grip
- Scissors
- Finishing tape or electrical tape
- Marker
- Always use a sharp, new blade to avoid tearing the grip. Dull blades increase the risk of slippage and uneven application.
- Ensure the racquet is clean and dry before applying the grip. Dust, sweat, or residue can prevent proper adhesion.
- Wear gloves to protect your hands from cuts and to maintain a cleaner grip application. This prevents oils from your skin from interfering with the adhesive.
Step-by-Step Instructions
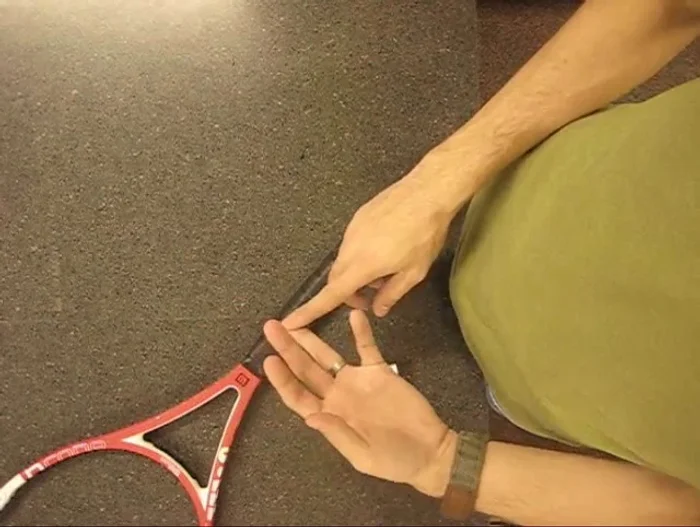
Preparation
- Remove any residue from previous grips.

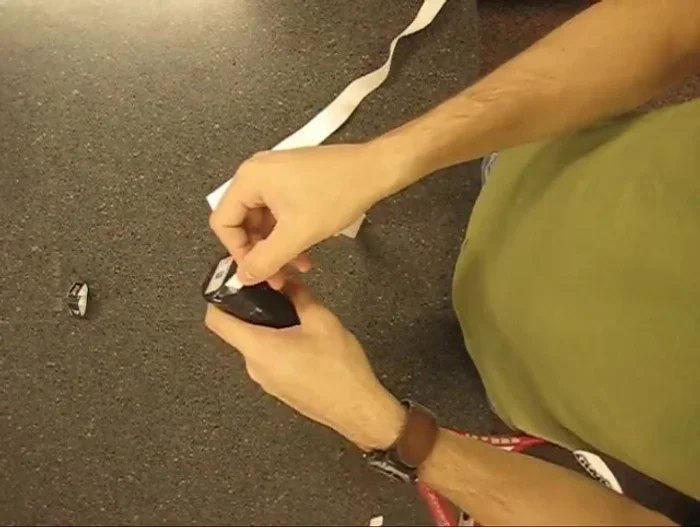
Preparation Overgrip Application - Initial Placement
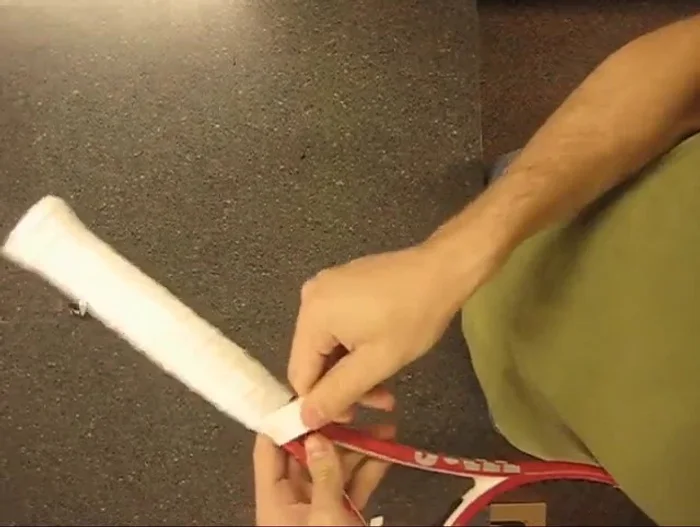
- Remove the backing from the adhesive starting piece.
- Align the overgrip flush with the bottom of the butt cap, applying slight pressure to prevent bubbles.
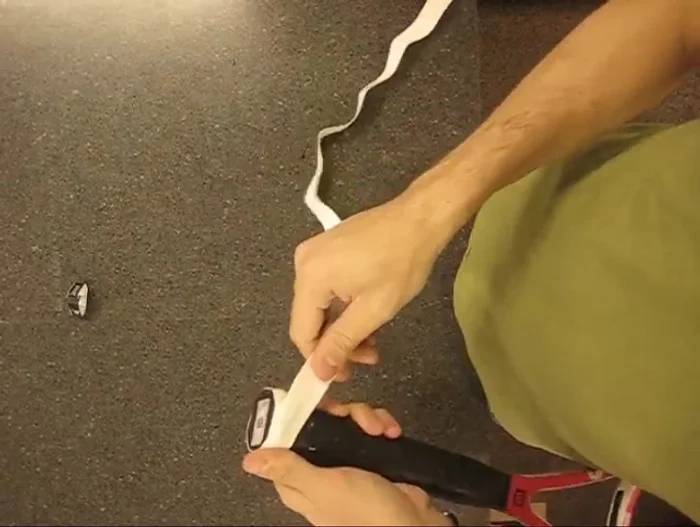
Overgrip Application - Initial Placement Overgrip Application - Main Wrap
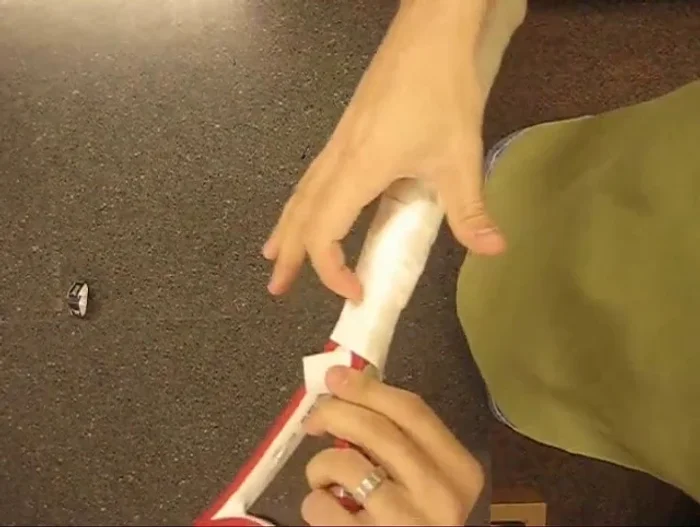
- Pull the overgrip taut across the handle, maintaining consistent overlap (1/8 to 1/16 of an inch). For right-handed players, wrap in the direction that aligns with the natural angle of their fingers; reverse for left-handed players.
- Pay close attention to areas where the handle width changes (top and bottom). Increase tension to eliminate bubbles.
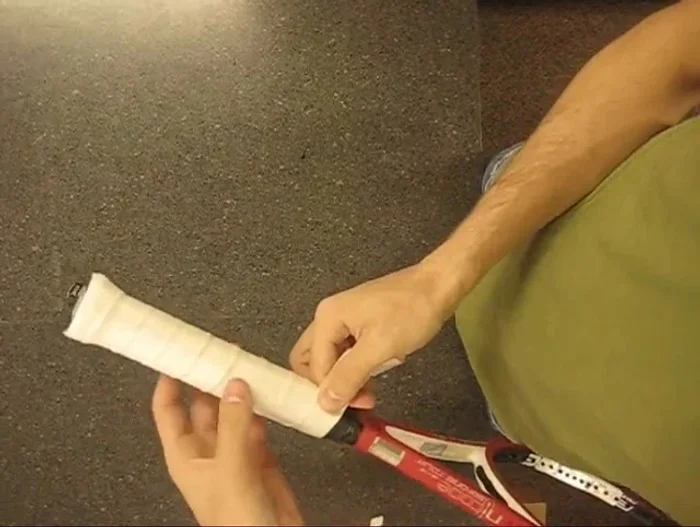
Overgrip Application - Main Wrap Finishing the Overgrip
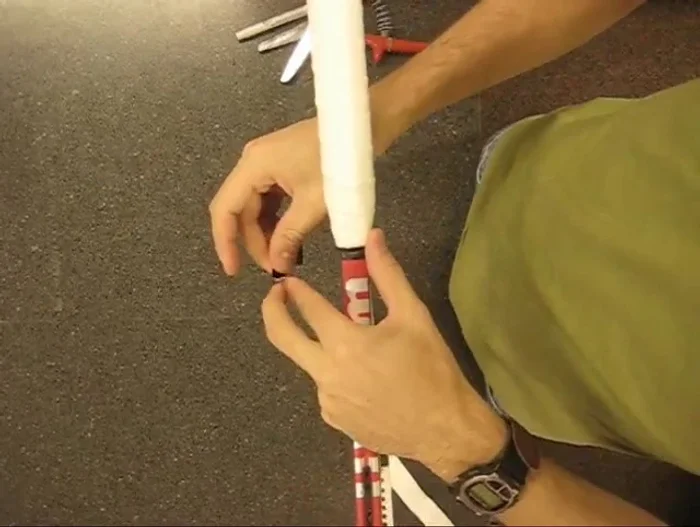
- Continue wrapping until the finishing tape is covered, slightly overlapping the previous layer for added security.
- Mark the replacement grip location with a marker or razor. Cut along the marked line to create a clean, flush finish.
Finishing the Overgrip Finishing Tape Application
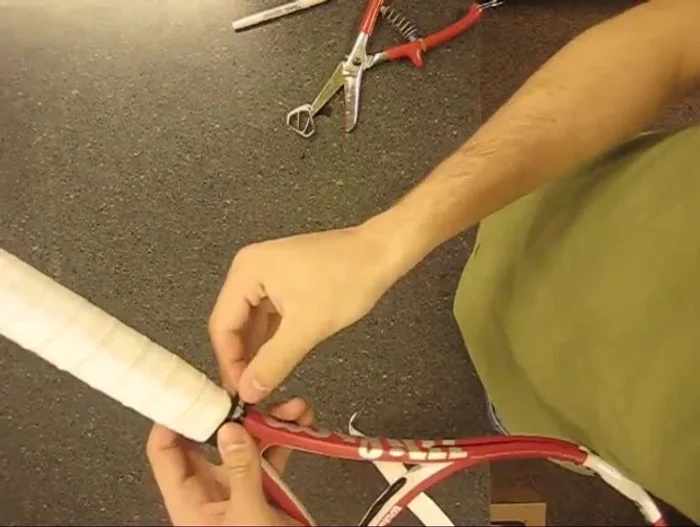
- Wrap finishing tape (or electrical tape) in the same direction as the grip, pulling it taut as you wrap.
- Cut the finishing tape at an angle to secure it neatly.
Finishing Tape Application
Read more: How to Wrap a Tennis Overgrip: A Step-by-Step Guide
Tips
- Clean the handle thoroughly before applying any grip.
- Consistent overlap is key to a professional look and feel.
- Apply slight pressure while wrapping to prevent bubbles.
- Wrap in the direction that best suits your grip style (right-handed or left-handed).
- Use electrical tape if you've run out of finishing tape.