Tennis balls lose their bounce over time, leaving you with less than stellar performance on the court. Replacing them constantly can be expensive, especially if you're a frequent player. But what if you could revitalize your old tennis balls for a fraction of the cost? This article reveals how to build your own DIY tennis ball pressurizer for under $8, bringing your worn-out balls back to life. We'll be using readily available, inexpensive materials that you likely already have around the house, making this project both budget-friendly and incredibly satisfying.
Forget paying exorbitant prices for new tennis balls or accepting subpar performance. This simple project is perfect for the budget-conscious tennis enthusiast, providing a fun and practical solution to a common problem. Ready to get started and save some serious cash? Let's dive into the step-by-step instructions to construct your own effective and economical tennis ball pressurizer!
Preparation and Safety Guidelines
- Plastic container with lid and gasket
- Tubeless tire valves (TR413)
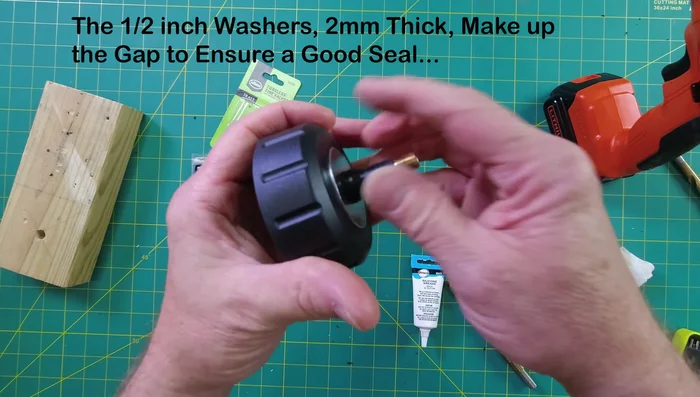
- Washer(s)
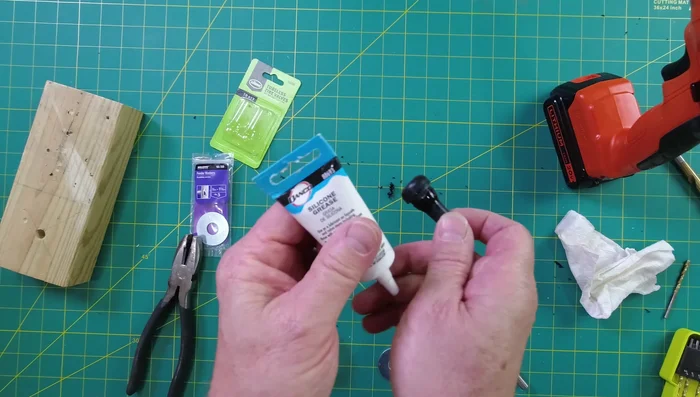
- Silicone grease
- Drill (3/8 inch)
- Bike pump with pressure gauge
- Gorilla waterproof patch seal tape
- Always wear safety glasses to protect your eyes from potential splashing or bursting of the tennis ball.
- Use caution when handling the pressurized air source. Never exceed the recommended pressure for your chosen method (e.g., bicycle pump). Over-pressurization can cause the tennis ball to burst violently.
- Work in a well-ventilated area. Some DIY methods may involve the use of compressed air, which can be harmful if inhaled in large quantities.
Step-by-Step Instructions
Prepare the Lid
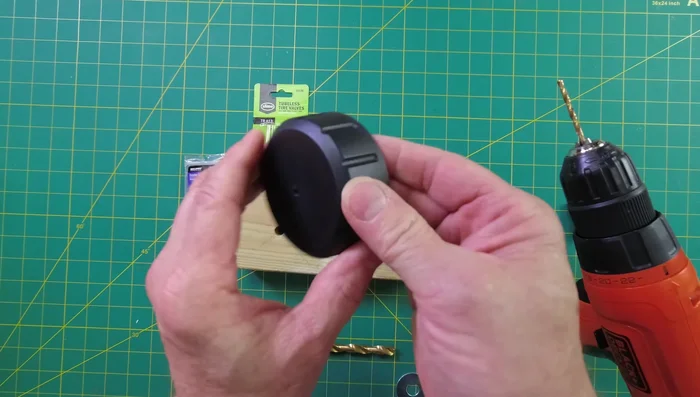
- Drill a pilot hole, then a 3/8 inch hole in the lid of your plastic container.
- Ensure a complete seal around the valve.

Prepare the Lid Install the Valve
- Apply silicone grease to the tubeless tire valve.
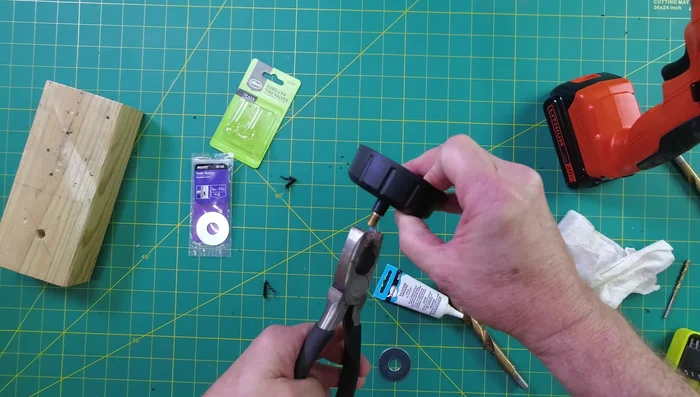
- Insert the valve through the hole in the lid, followed by a washer (or two).
- Secure the valve and washer by screwing on the plastic piece from inside the container.
Install the Valve Load and Seal
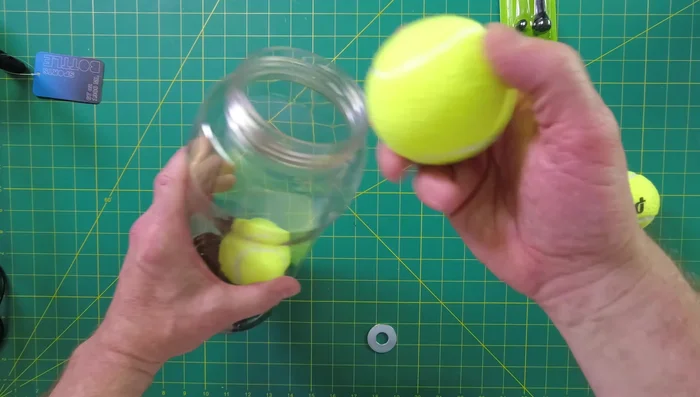
- Place the tennis balls inside the container.
- Attach the lid and tighten securely.
Load and Seal Pressurize
- Use a bike pump to pressurize the container to slightly above 12 psi.


Read more: Repressurize Your Old Tennis Balls: The Pressure Refresher Guide
Tips
- Drilling a pilot hole first helps center the larger hole.
- Silicone grease acts as a lubricant and helps create a better seal.
- Reinforce the container lid with waterproof tape to prevent it from blowing out under pressure.
- Wear safety glasses when pressurizing the container.