Cricket, a sport of passion and precision, often hinges on the condition of the ball. A scuffed, damaged ball can significantly impact performance, leading to frustrating inconsistencies and potentially lost matches. Whether you're a seasoned professional or a weekend warrior, facing a damaged cricket ball can be disheartening. But fear not! A perfectly good cricket ball doesn't have to end up gathering dust in the corner. With the right techniques and materials, even significant damage can be repaired, restoring your trusty sphere to its former glory.
This article provides a comprehensive guide to ultimate cricket ball repair, offering a robust and long-lasting solution to common ball problems. We'll explore various repair methods, from addressing minor scuffs and cuts to tackling more severe damage like deep gashes and worn seams. Ready to bring your worn-out cricket ball back to life? Let's dive into the step-by-step process to achieve a strong and lasting fix.
Preparation and Safety Guidelines
- Cricket ball
- Water
- Feviquick (or similar strong adhesive)
- Sharp knife or scissors
- Always use appropriate safety gear like gloves when handling sharp objects like needles or knives during the repair process.
- Ensure the repair area is well-ventilated, especially when using strong adhesives or solvents as these can release harmful fumes.
- Avoid excessive force when stitching or applying pressure to the ball; this can cause further damage or injury.
Step-by-Step Instructions
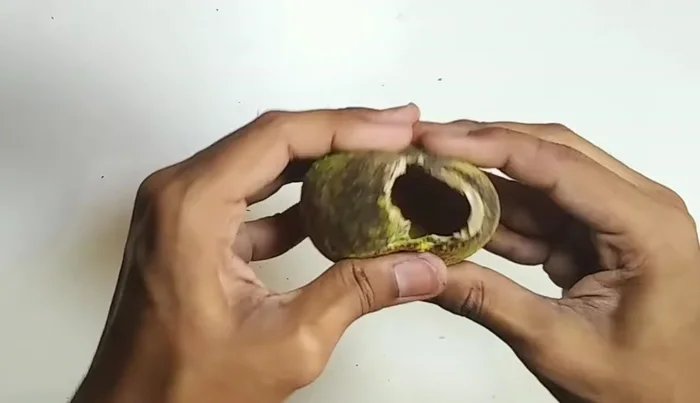
Preparation
- Apply a little water to the edges of the cut or broken area of the ball.

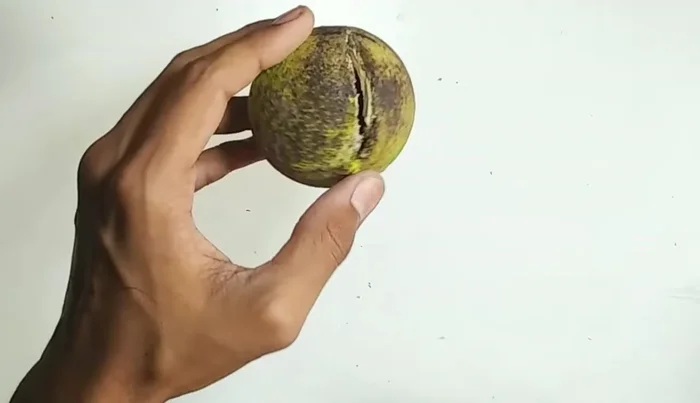
Preparation Initial Bonding
- Press the broken edges together firmly from both sides.
Initial Bonding Clean Up
- Trim away any excess material sticking out.
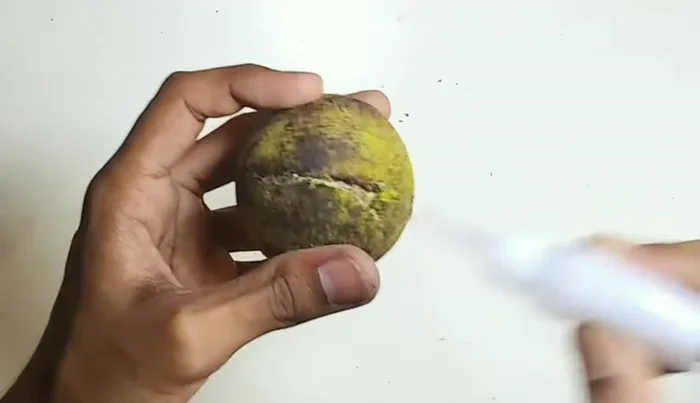
Clean Up Adhesive Application
- Apply Feviquick (or strong adhesive) to the inside edges of the break.
Adhesive Application Securing the Repair
- Press the edges together firmly with both hands, applying pressure for 30-60 seconds.
Securing the Repair Strengthening and Finishing
- Apply a small amount of grease to the repaired area for added strength.
Strengthening and Finishing


Read more: Master the Perfect Tennis Shot: Angle and Intensity Technique
Tips
- Ensure a strong adhesive like Feviquick is used for a lasting repair.
- Apply firm and consistent pressure during the drying process to ensure a strong bond.